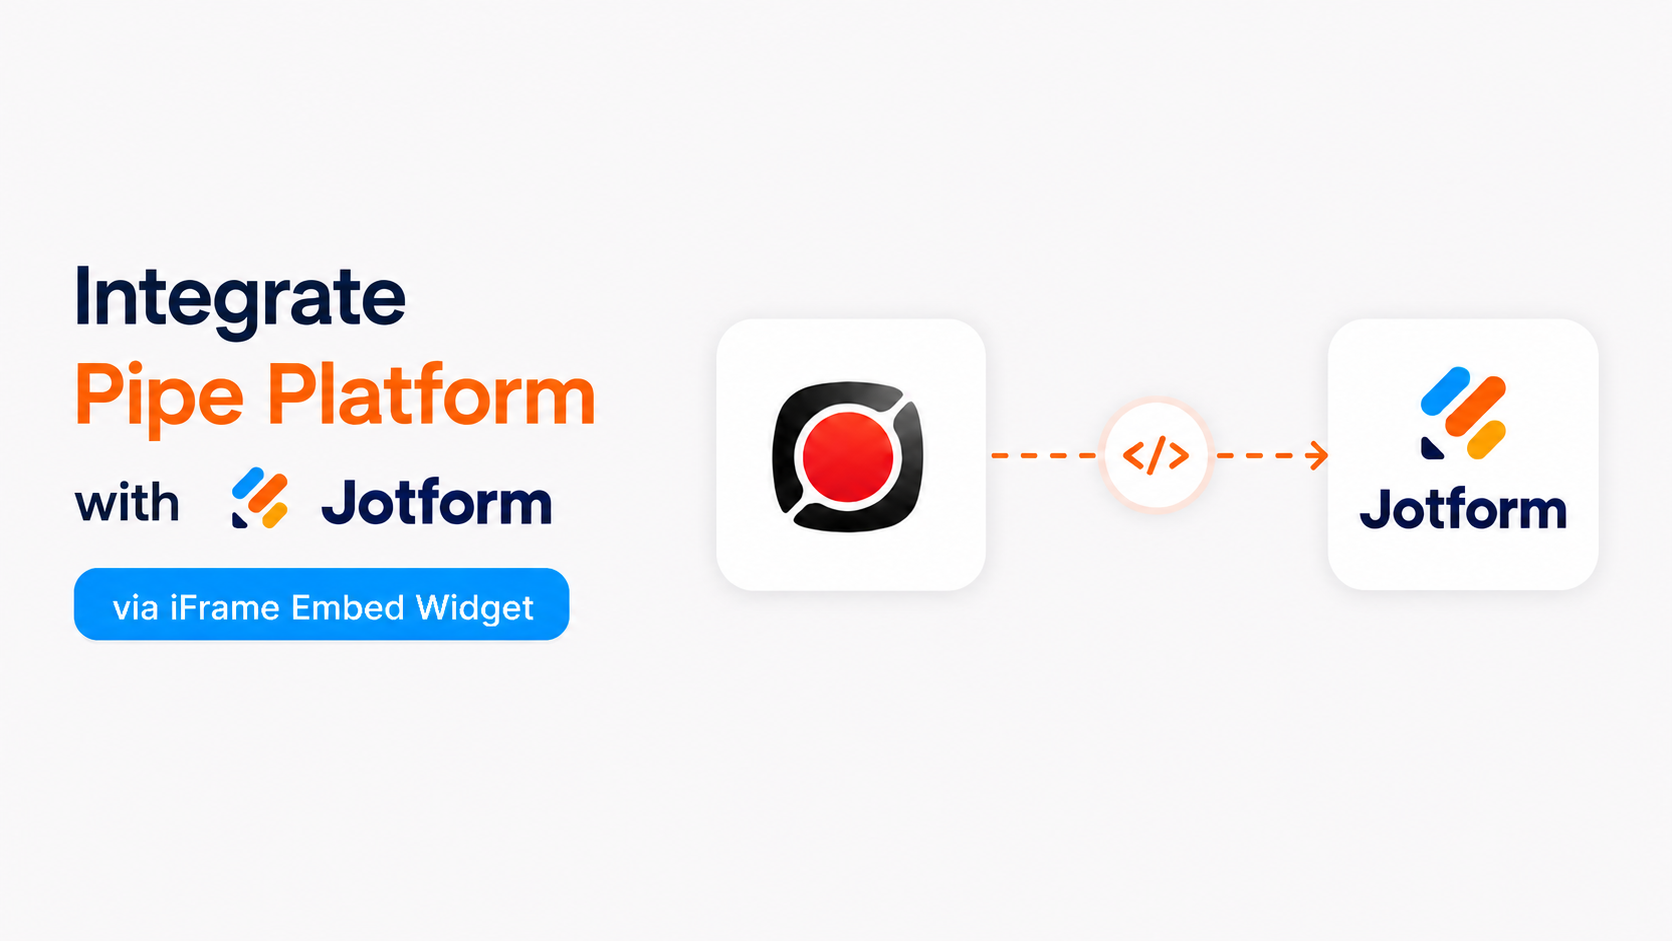
Capturing Videos With Pipe in a Jotform Contact Form
Follow the steps below for the most basic integration between Jotform and the Pipe audio and video recorder.
In this tutorial, we'll build a contact form that gives users two ways to reach you: fill out the standard fields, or record a video message. We'll use the Jotform Iframe Embed Widget to embed a page running the Pipe recording client — a pattern you can adapt for collecting video answers, testimonials, async interviews, and more.
Step 1. Get Your Pipe Recording Page URL
We'll use this page in an iframe in Jotform. You can use your own self-hosted page, but for this tutorial and simplicity, we'll just use the one generated by Pipe.
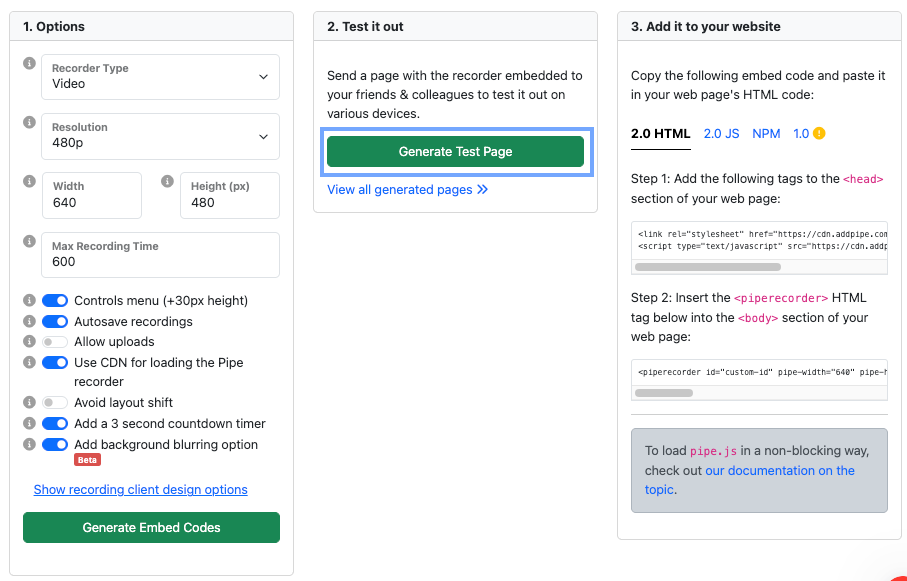
Log in to your Pipe account dashboard. Once logged in, go to the Embed Recorder tab. In the Options card, leave the defaults or make any changes if you wish, then in the Test it out card, click Generate Test Page and copy the resulting URL to your clipboard.
Note: You can view all generated test pages by clicking the link View all generated pages >>. From there, you can copy a different generated page URL if needed.
Step 2. Create Your Form in Jotform
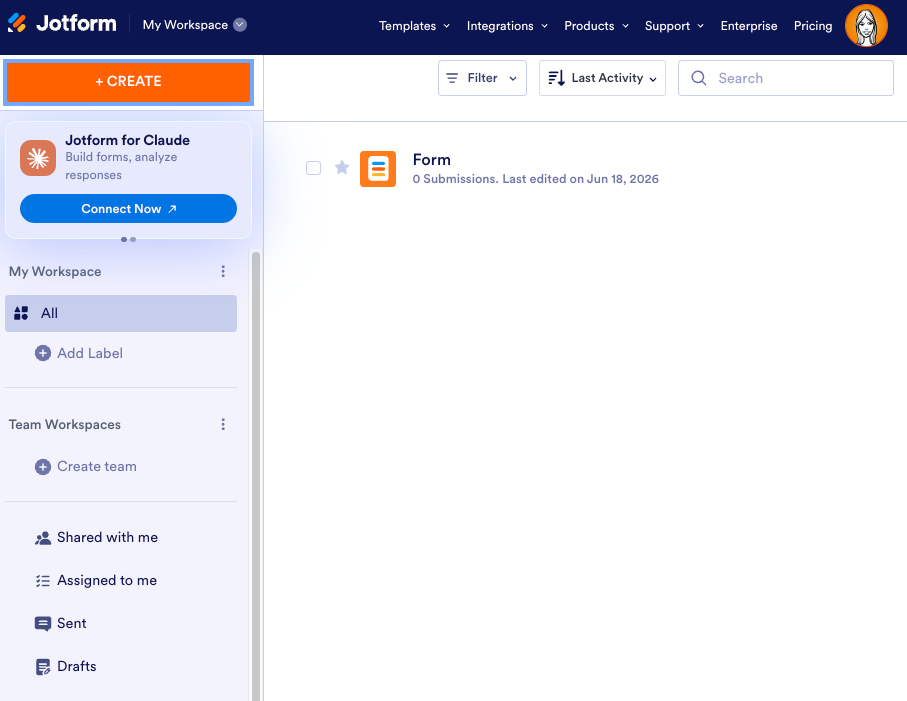
a. Go to your Workspace page and click + CREATE in the top-left corner.
b. In the window that opens, click Form.
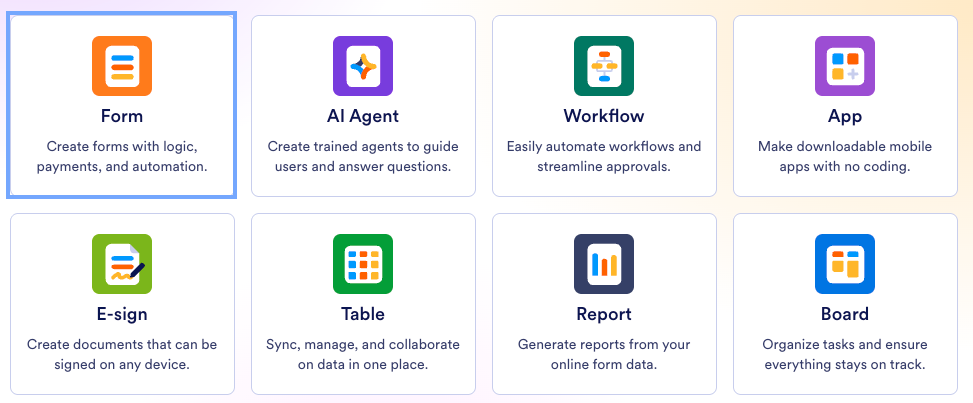
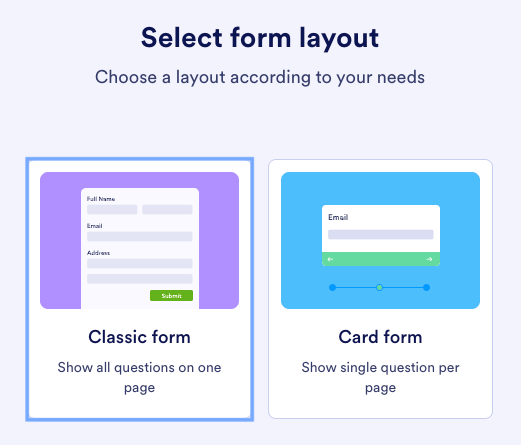
c. Then choose Start from scratch and select the Classic form.
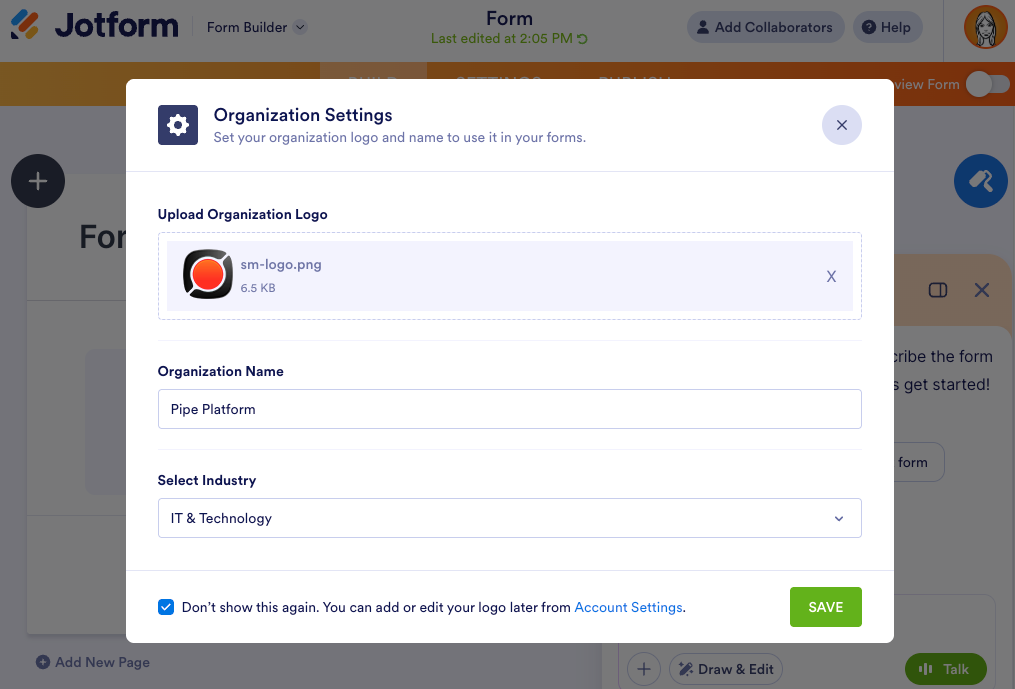
d. After that, you will be redirected to Form Builder, where you will see an Organization Settings prompt with the following information:
- Upload the Organization Logo — You can upload a new logo to represent your organization.
- Organization Name — Add the name of your organization.
- Don’t Show This Again — Prevent the prompt from appearing in the future.
Click Save to confirm and save your updates.
Step 3. Add Form Elements
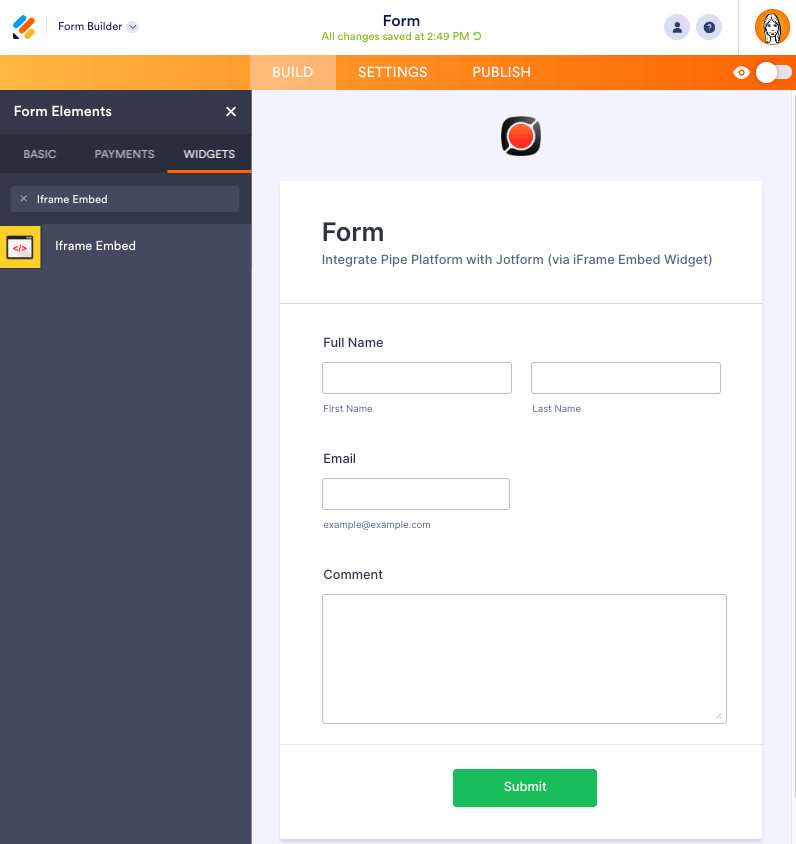
To build the form, add the fields from Jotform’s form elements menu.
In Form Builder, click on Add Element (+) on the left side of the screen and under the Form Elements, choose the Basic tab. After that, drag and drop the elements: Full Name, Email, and Long Text.

Step 4. Add the Iframe Embed Widget
To add the Iframe Embed widget, click the Add Element (+) on the left side of the screen and select the Widgets tab. Then, search for "Iframe Embed" in the search bar and drag and drop the Iframe Embed widget onto the form. I've added it under the Submit button so that, visually, it's not linked to submitting the contact form, and looks like a separate way to contact us.
Step 5. Configure the Iframe Embed widget
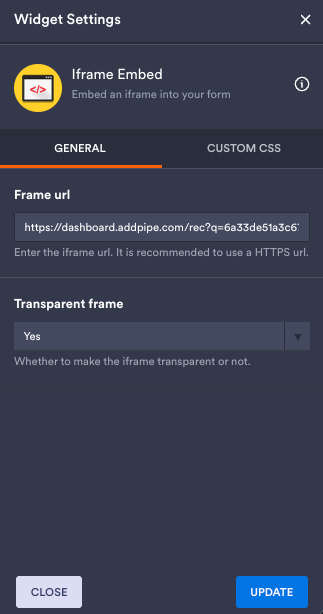
The Widget Settings will open automatically after adding the widget to the form, with the following information that should be completed:
- Frame url: Paste your Pipe recording page URL;
- Transparent frame: Set it to Yes if you want the recorder to blend into your form's background;
Click Update at the bottom of the settings panel to save the configurations.
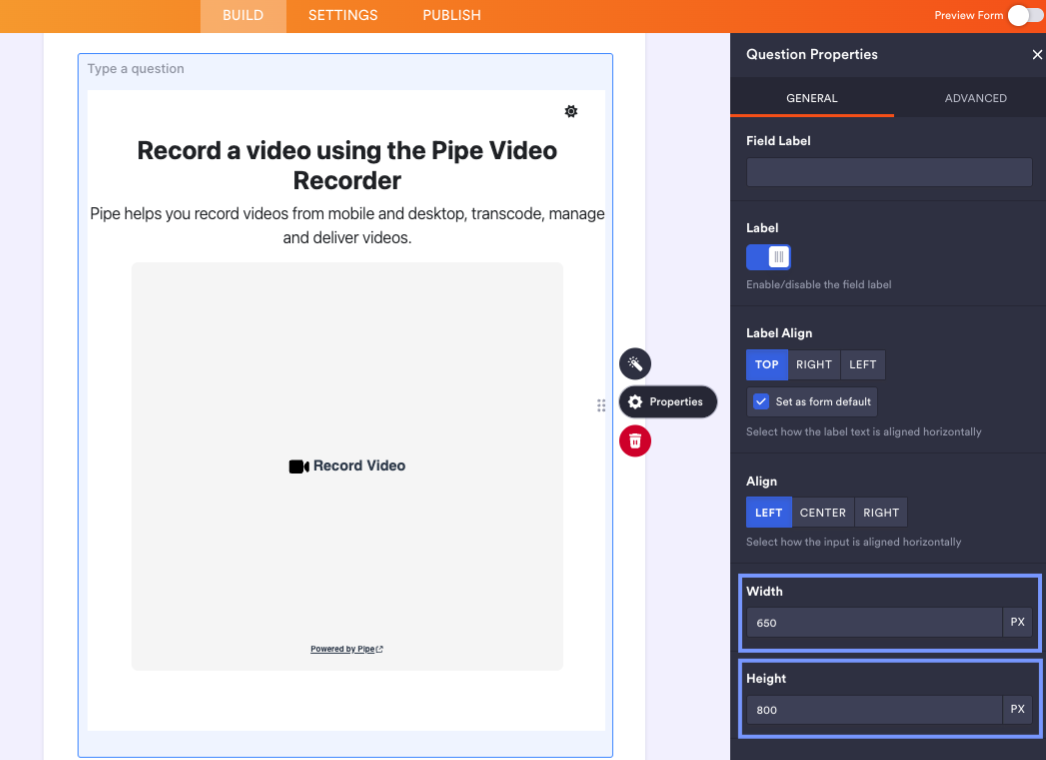
Step 6. Adjust the Widget Size
To ensure the full Pipe recording is visible without internal scrollbars, click the Gear icon (Properties) next to the widget to open its properties. After that, select the General tab and adjust the Height and Width values.
Step 7. Testing Your Form
Before publishing the form, test it to make sure everything works as expected. In the orange navigation bar at the top right of the page, toggle Preview Form to On. Then fill out the form and click Submit to create a test entry, or record a video to confirm it is saved to your Pipe account. You should have received your test entries by email and can view the recordings directly in the Pipe account dashboard.
Step 8. Publish and Share Your Form
Once your form is ready, you’ll need to share it with your audience.
To do this, open the Form Builder and click Publish in the orange navigation bar at the top of the page. Then click Copy link and share it directly with your users via email or social media.
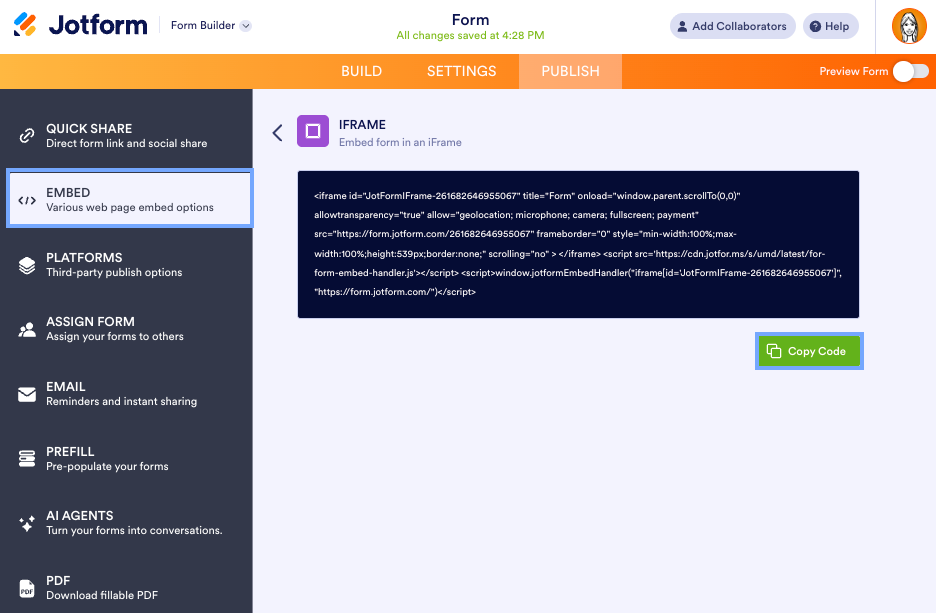
To embed the form on a website, select EMBED from the left-side menu, click the IFRAME card, then click Copy Code. You can then add the copied code to your website page.
Limitations
Please note the following limitations when using the generic Iframe Embed widget:
- You cannot directly capture or store the Pipe recording link inside the Jotform submission data.
- Jotform cannot detect whether a user actually recorded a video inside the iframe;
- A user may submit the form without recording a video;
- By default, any recording will appear in your Pipe account even without the form being submitted.
For more advanced integrations, you need to create and host your own iframe and use postMessage to enable communication between the iframe that contains the Pipe recording client and the Jotform form.