
Capturing Videos With Pipe in a Tally Contact Form
Let visitors record a video message inside your Tally contact form with AddPipe. Follow the setup steps, test the recorder and understand the submission limitations.
Follow the steps below to set up a simple integration between Tally and the Pipe audio and video recorder.
In this tutorial, we’ll create a contact form that lets users fill out standard form fields or record a video message.
To add video recording, we’ll use Tally’s Embed anything block to embed a page running the Pipe recording client. You can use the same approach to collect video responses, testimonials, asynchronous interviews, and more.
Step 1. Get Your Pipe Recording Page URL:
The first step is to get the URL of a web page that embeds the Pipe Recording Client. You can use your own publicly accessible web page, but for this tutorial and simplicity, we'll just use the one generated by Pipe.
Log in to your Pipe account dashboard. Once logged in, go to the Embed Recorder tab. In the Options card, you can keep the default recorder settings or customize them to match your needs. Then, in the Test it out card, click Generate Test Page. After generating the test page, copy the URL to your clipboard. You’ll need this URL in the next step when embedding the Pipe recorder into your Tally form.
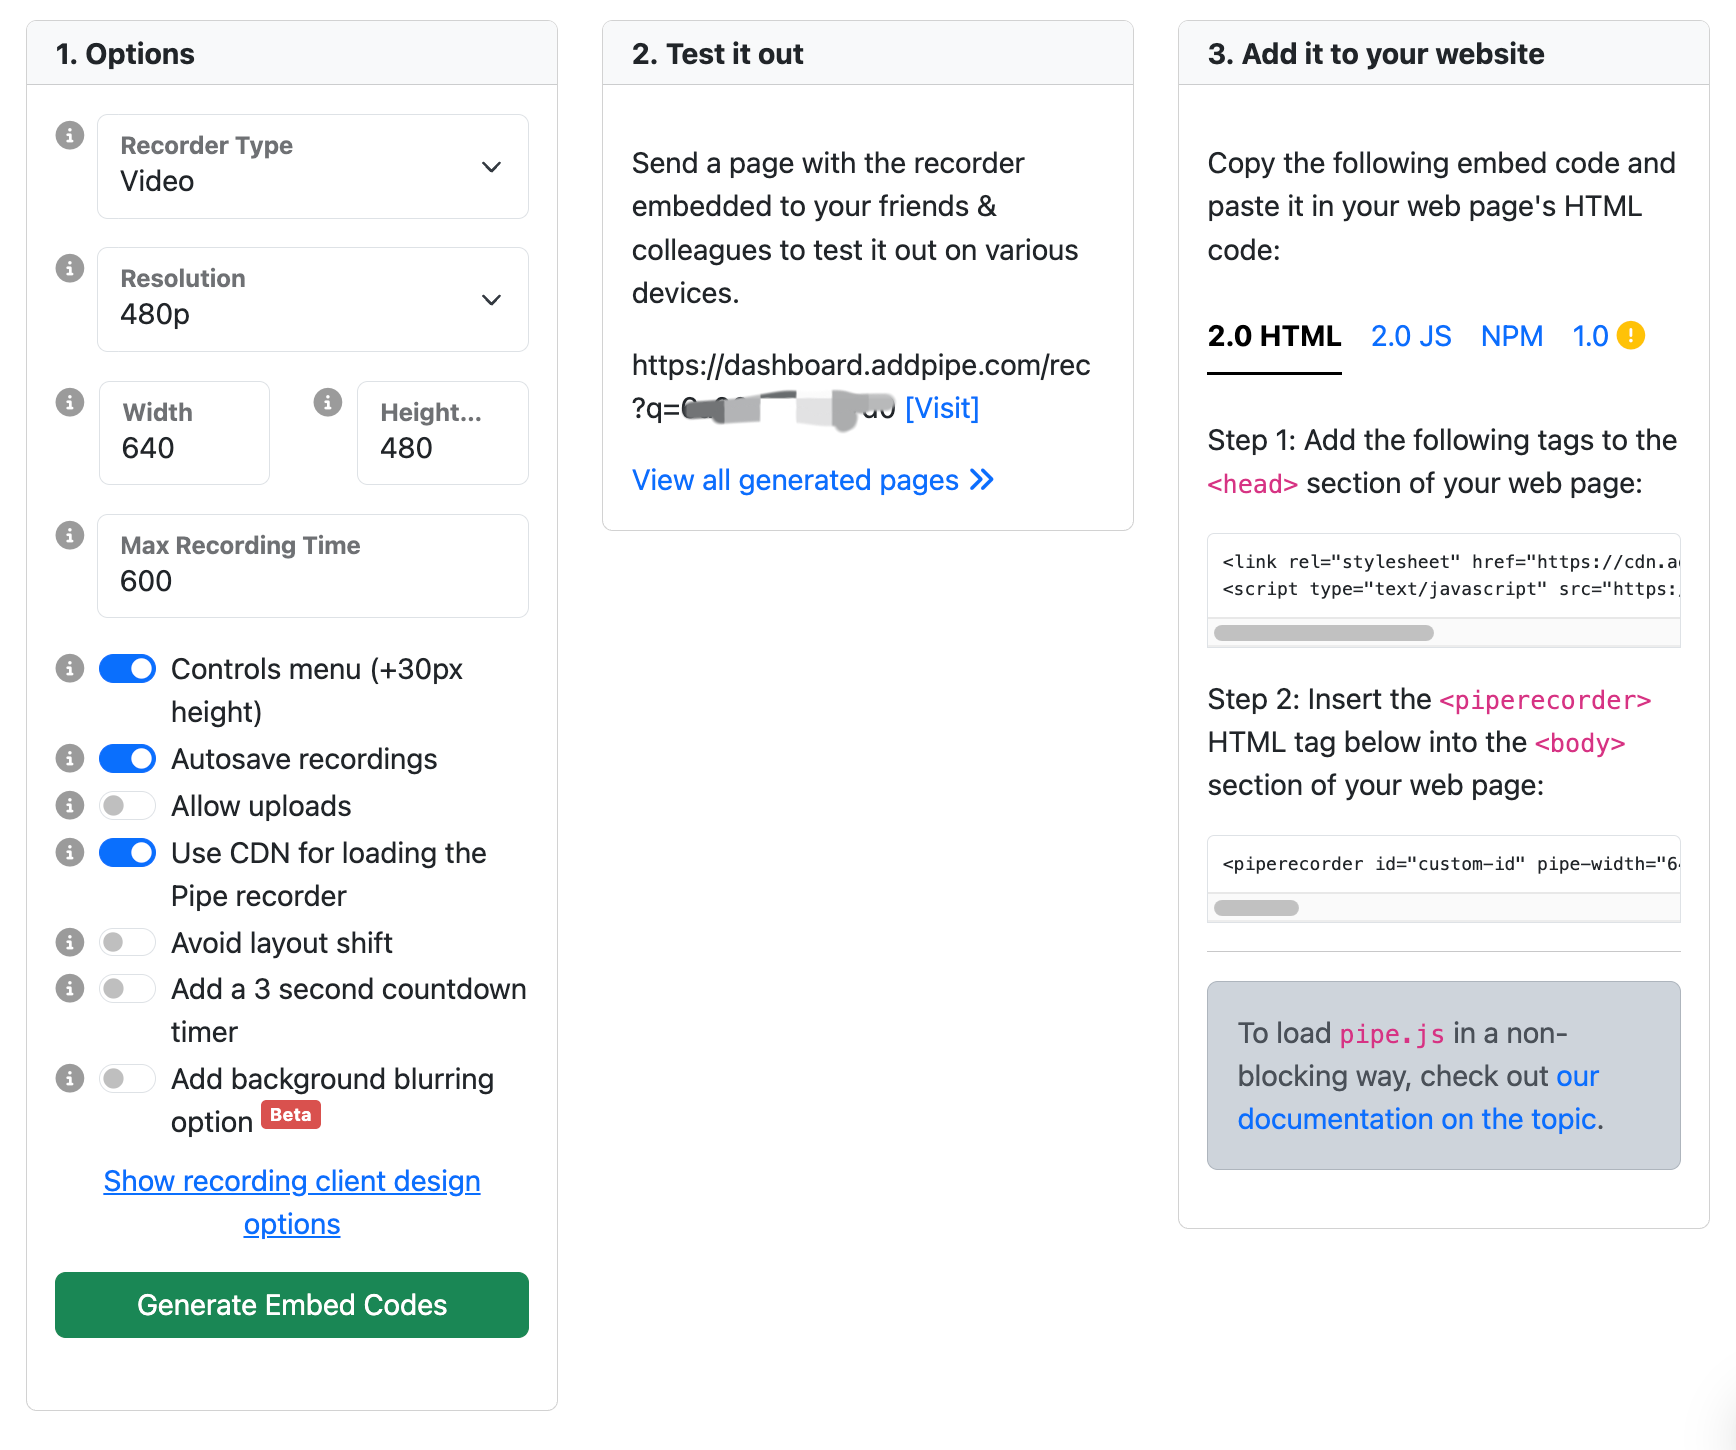
Note: You can access all previously generated Pipe test pages from the View all generated pages >> section. From there, you can also copy an existing page URL or select a different test page if needed.
Step 2. Create Your Form in Tally:
From your Tally workspace, click New form. After that, enter the name of your form and choose the option Press Enter to start from scratch.
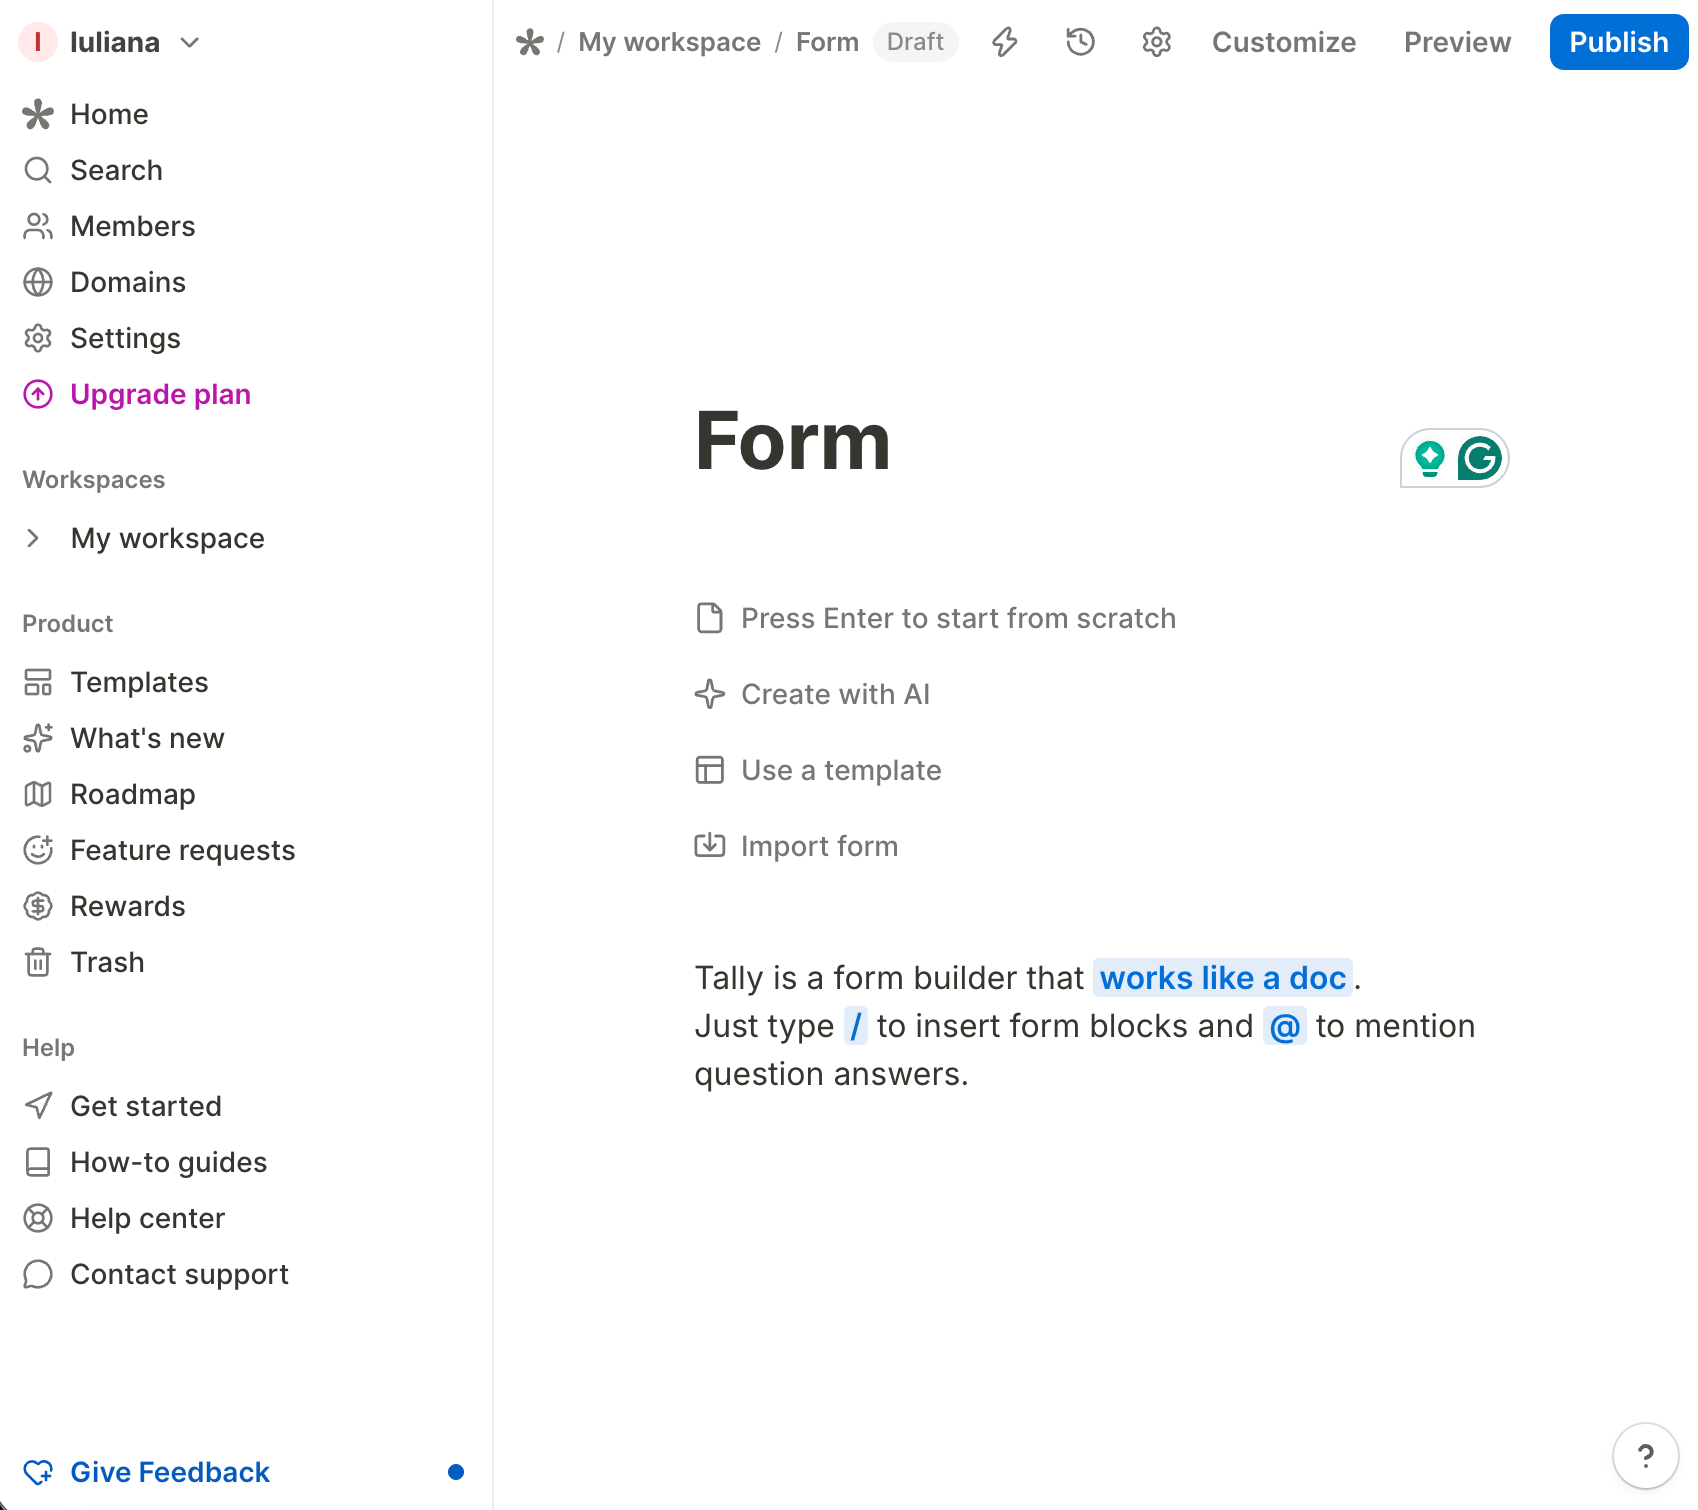
Step 3. Add form elements:
To build the form, add the blocks from Tally’s form blocks menu.
In the form, click the (+) on the left side. From there, insert different blocks: Short answer, Email, and Long answer.
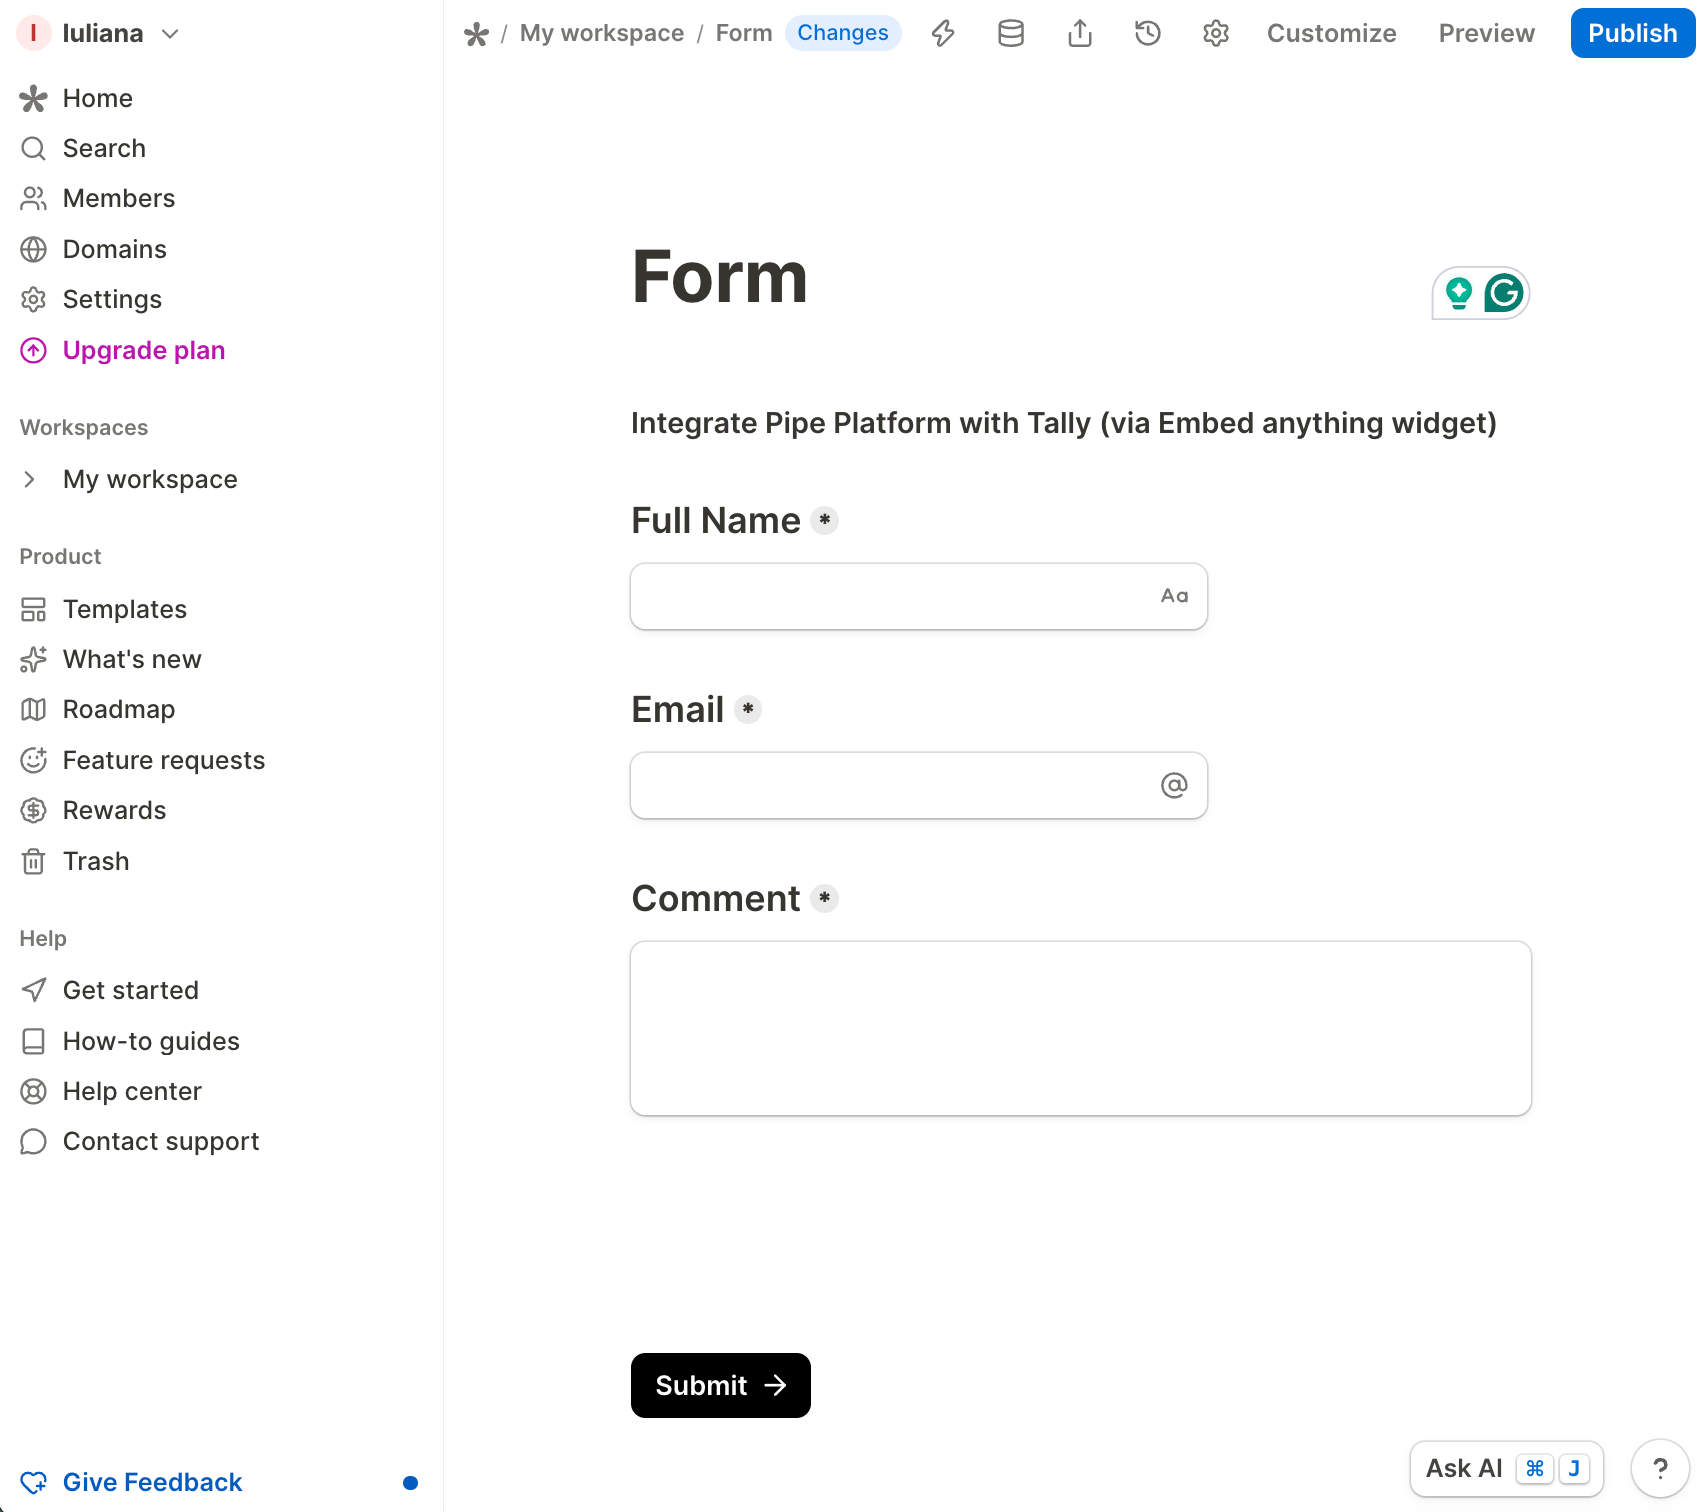
Step 4. Add the Embed anything block:
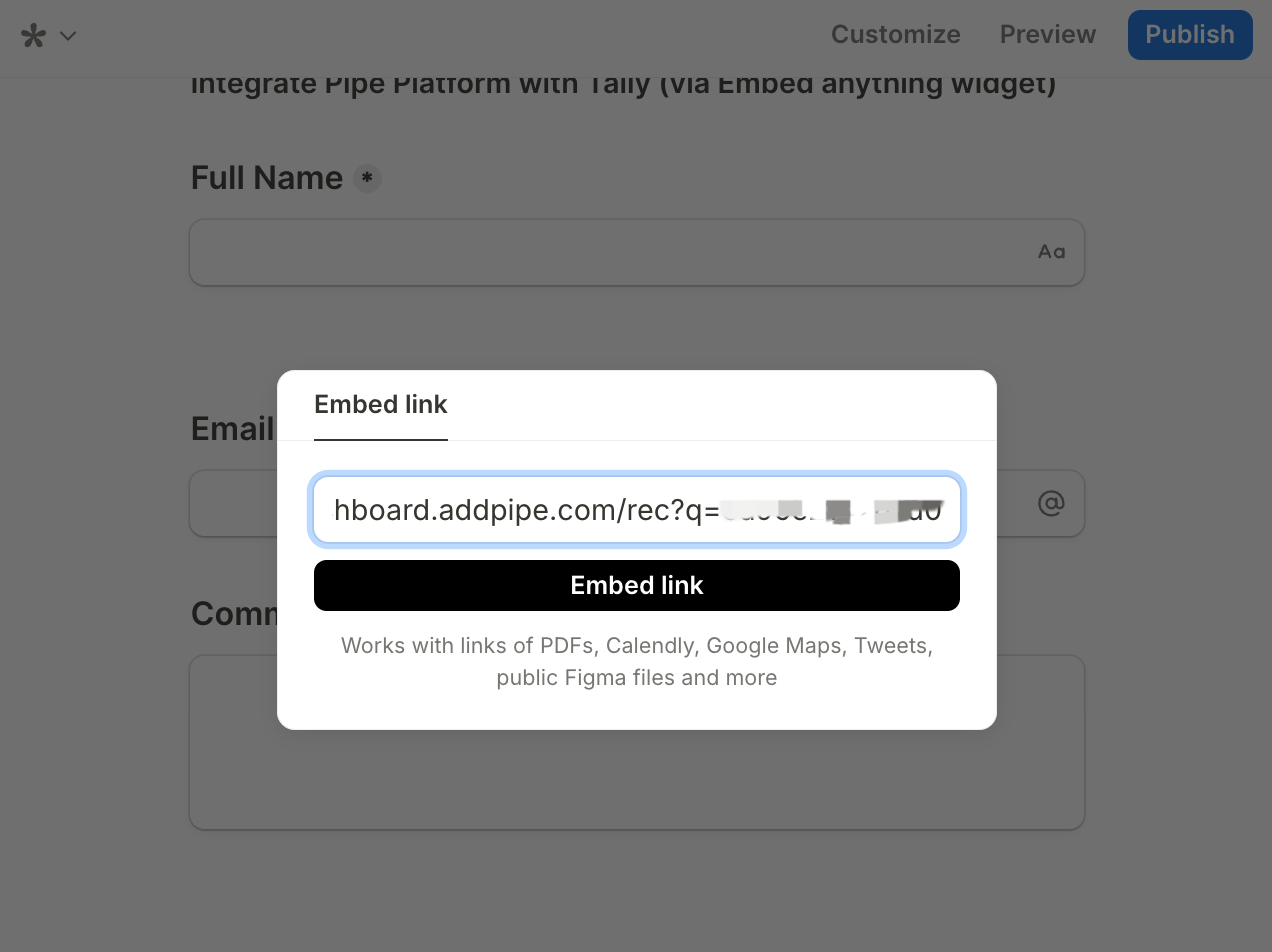
To add the Embed anything block, click the (+) on the left side and type /embed in the search field, or go to the Embed blocks section and choose the Embed anything option.
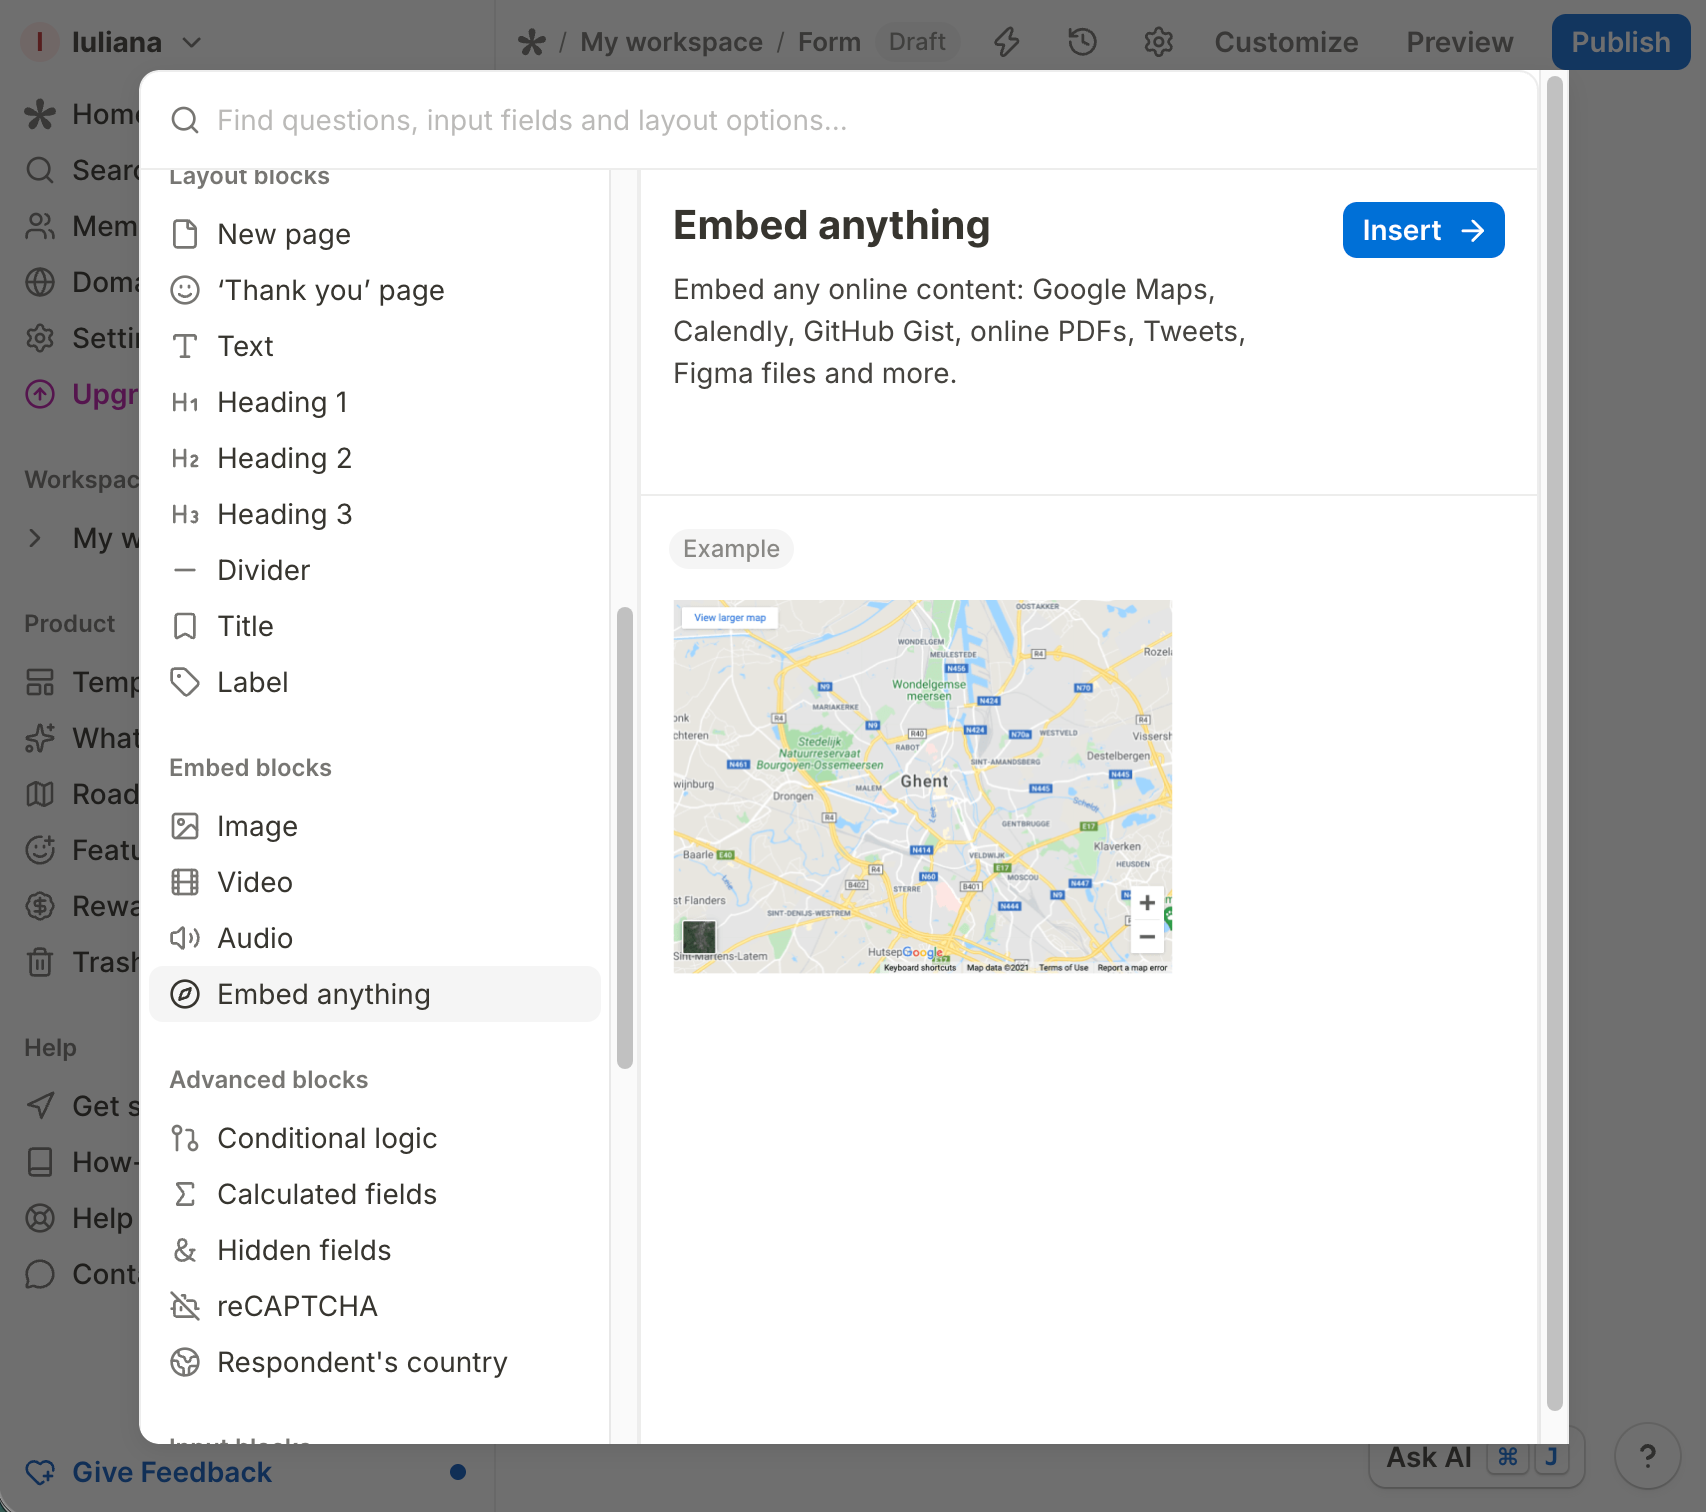
Paste the generated test page containing the Pipe recording client, and click Embed link to add the recording page to the Tally's form.
Step 5. Adjust the Height Size:
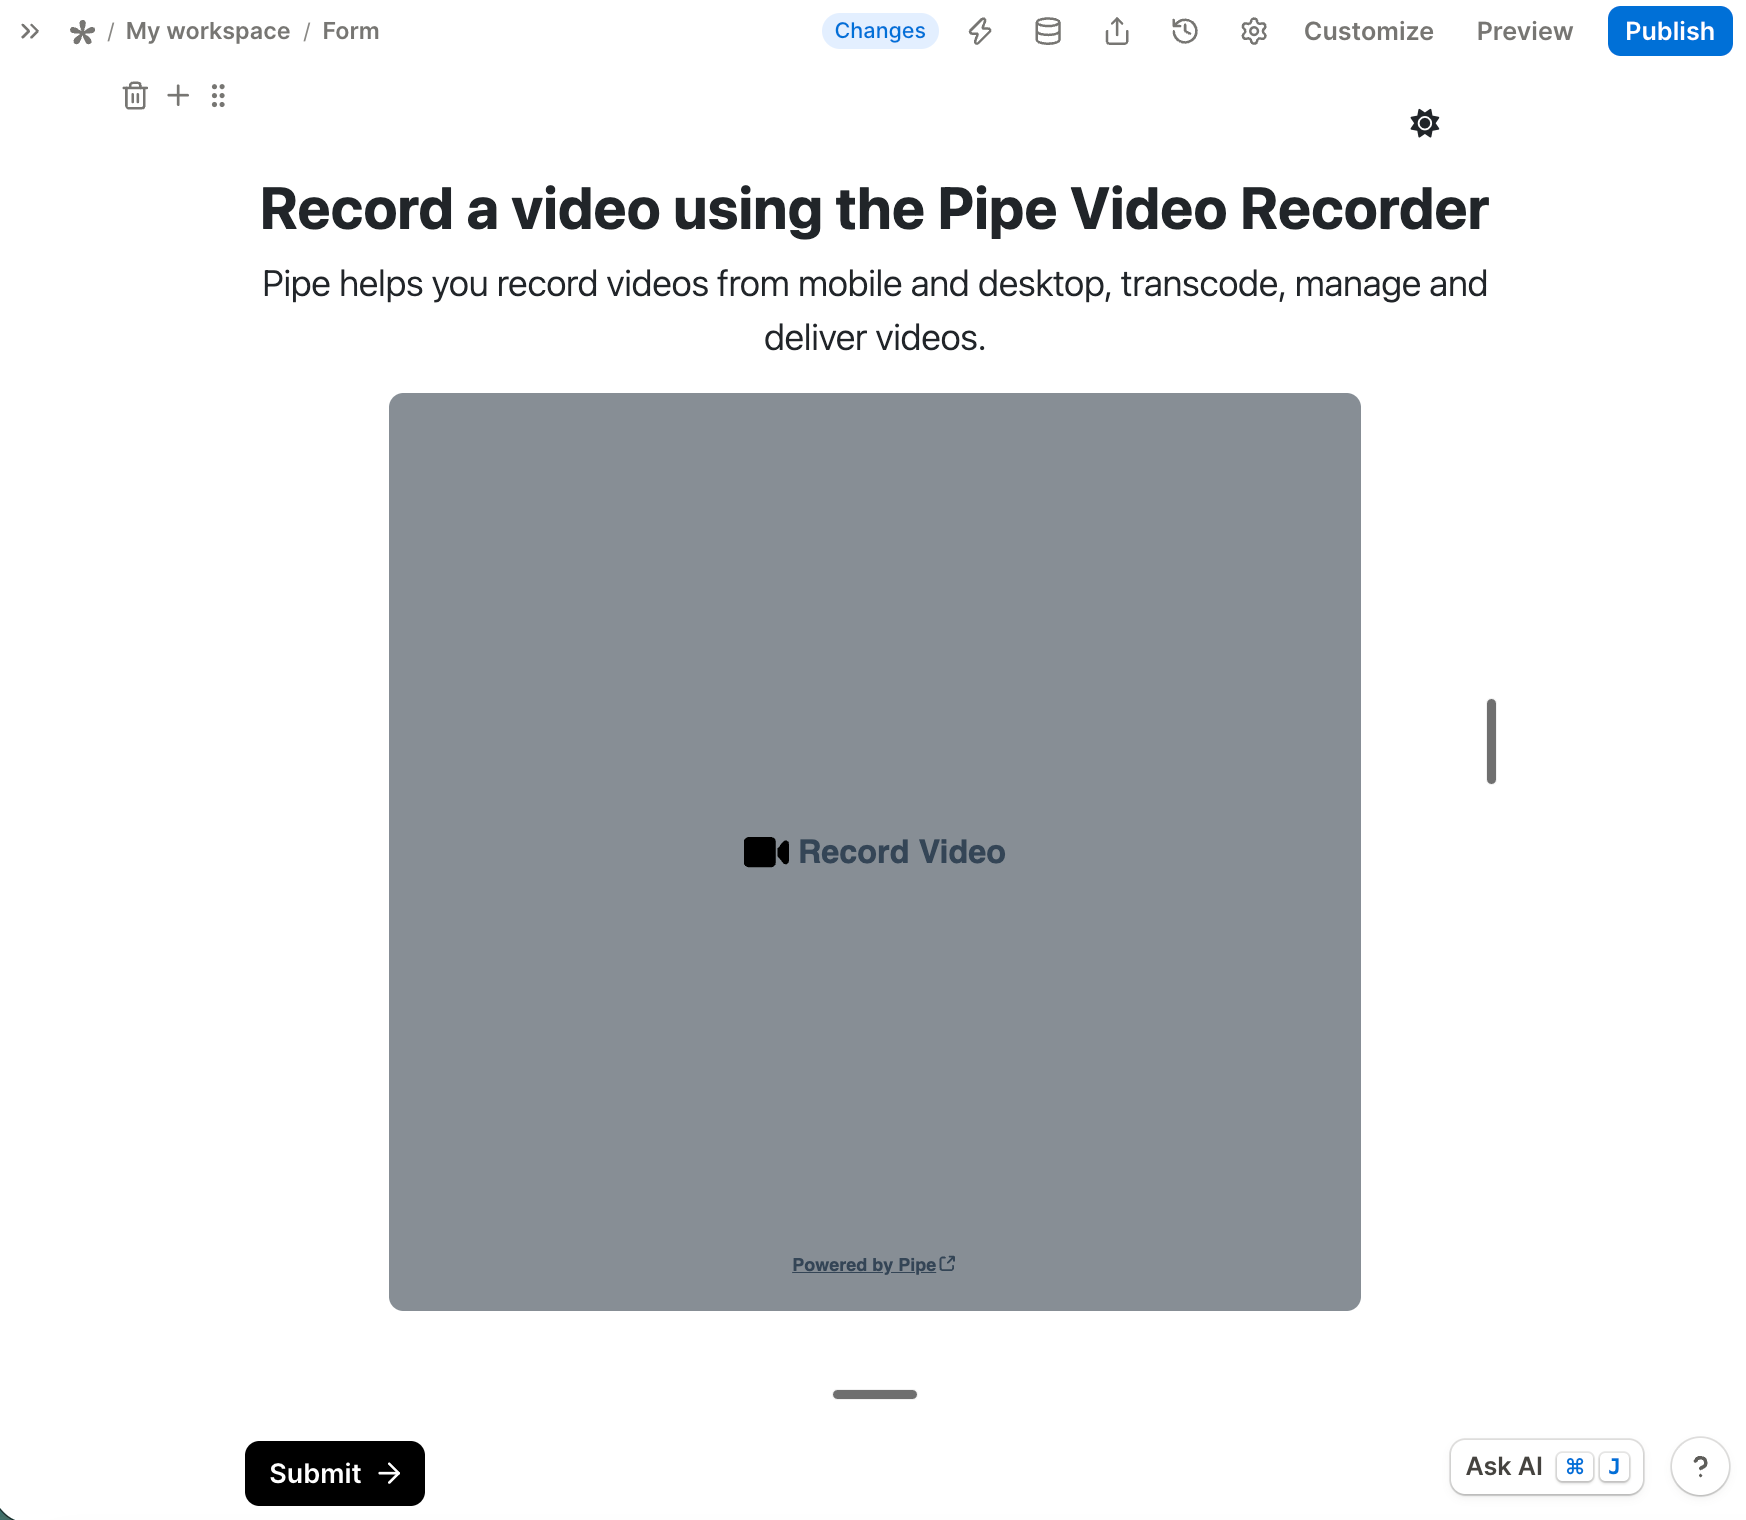
To ensure the full Pipe recording is visible without internal scrollbars, drag down the block until the scrollbars disappear.
Step 6. Testing Your Form:
Before publishing the form, test it to make sure everything works as expected. In the top navigation at the right of the page, click Preview. Then fill out the form and click Submit to create a test entry, or record a video to confirm it is saved to your Pipe account. You should have received your test entries by email and can view the recordings directly in the Pipe account dashboard.
Step 7. Publish and Share Your Form:
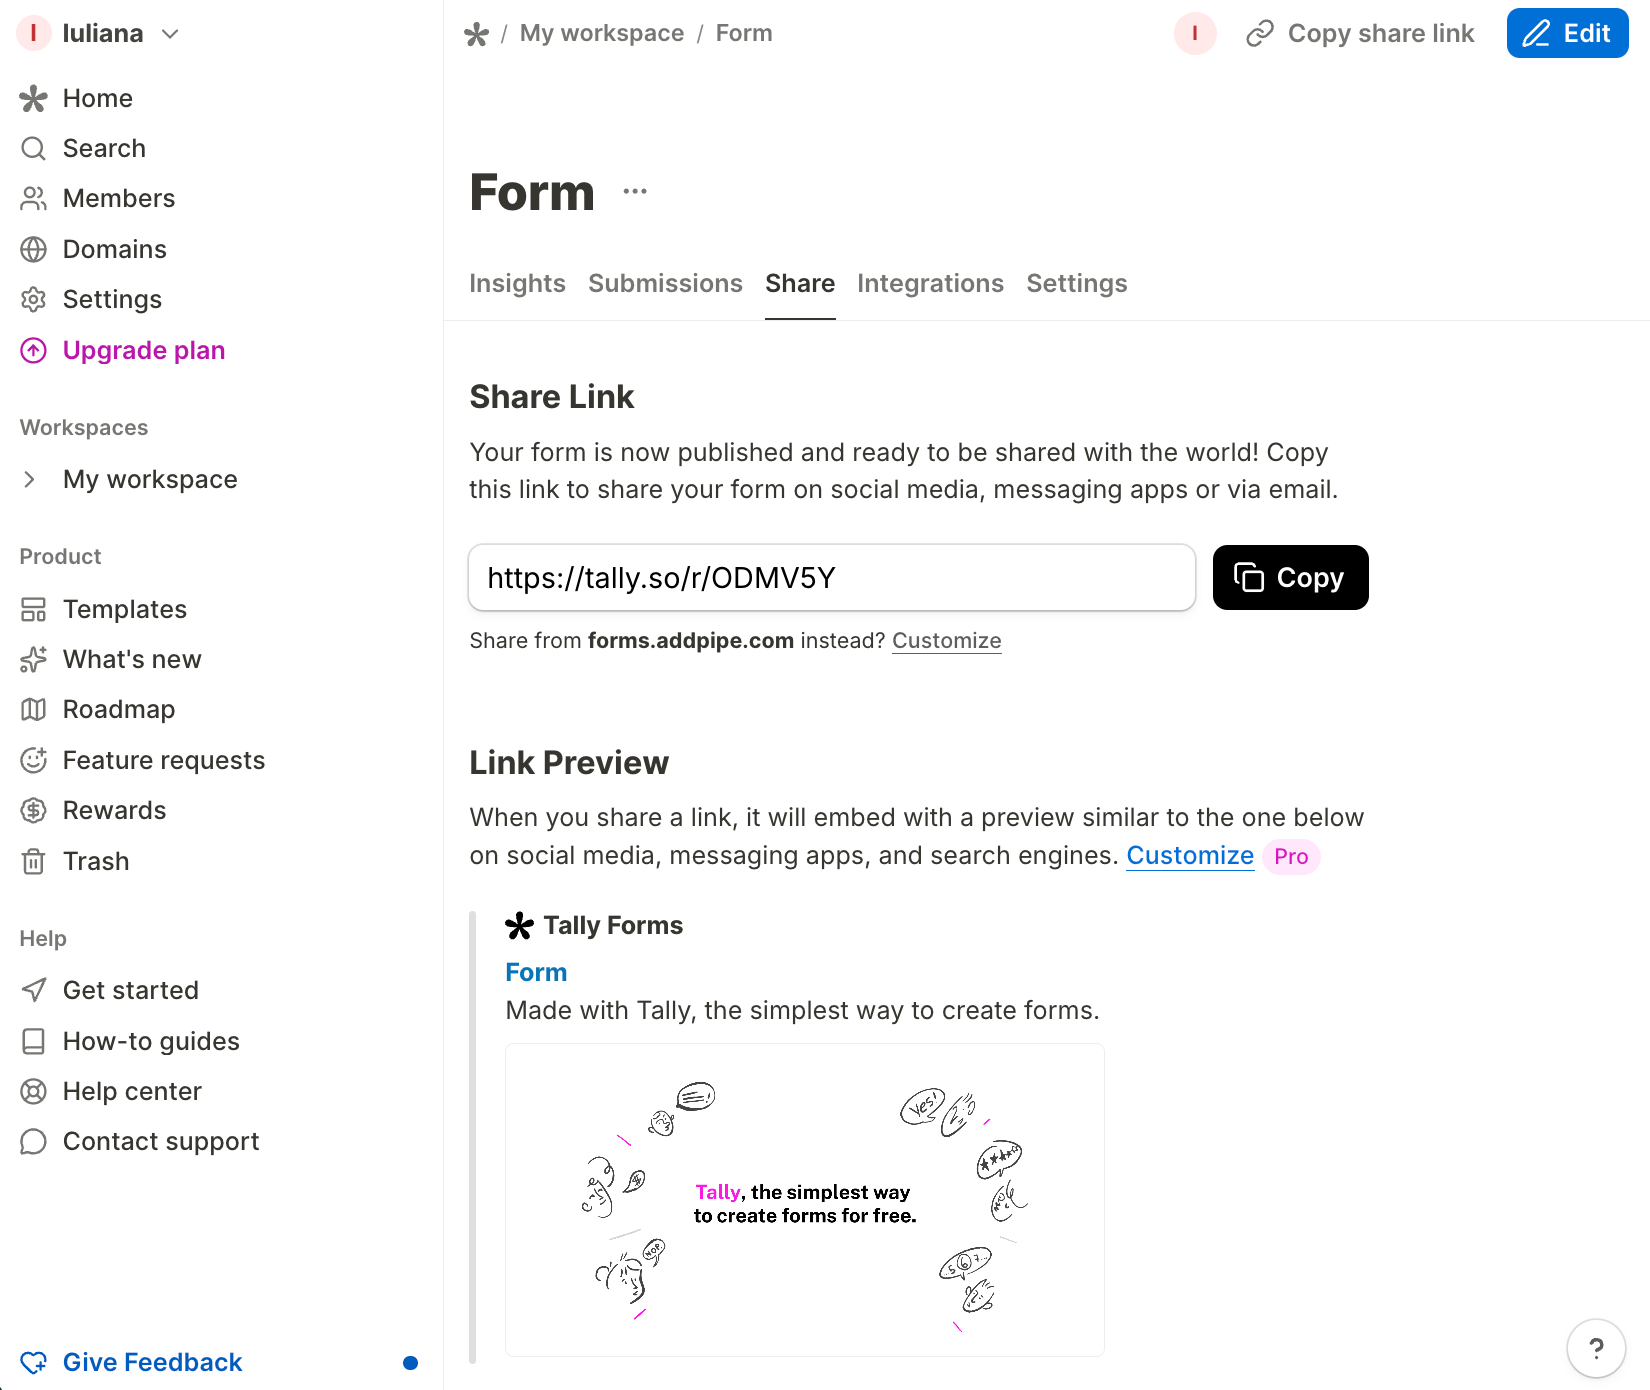
Once the form works as expected, publish the Tally form and share it with respondents.
To do this, open the Form and click Publish in the top navigation bar. Then click Copy and share it directly with your users via email or social media.
Limitations:
Please note the following limitations when using the Embed anything block:
- The recording is not included in the Tally submission;
- Tally cannot validate that a recording was completed;
- A user can submit the Tally form without completing a recording;
- By default, any recording will appear in your Pipe account even if the form hasn't been submitted;
If the embedded Pipe page becomes unavailable, is moved, or its URL changes, the recorder will no longer work inside the Tally form.
