
How To Create Qualitative Surveys With Video Responses Using Alchemer and Pipe Video Recorder
This tutorial has been tested and updated in January 2026 to make sure it still works.
In 2017, we published our first tutorial on how to create qualitative surveys with video responses using the 1.0 version of the Pipe video recorder and SurveyGizmo. Since then, many things have changed. SurveyGizmo rebranded to Alchemer in October 2020, and we released the 2.0 version of the Pipe Recorder embed code, which introduced the possibility to embed more than one recorder in forms and surveys.
In this tutorial, we will show you how to collect one or more video answers to your Alchemer survey using the using the Pipe video recorder and the 2.0 embed code.
Requirements
To follow this tutorial you will need an account with:
In Alchemer, we will need to use JavaScript Actions, Hidden fields, and be able to access the HTML/CSS editor, which are paid features. The minimum plan required to get access to those features is the Professional plan which you can use for free for the first 7 days (and $165/month or $1075/year afterwards).
Pipe offers a 14-day free trial, signing up takes just 1 minute, and no credit card is required.
Create a new form
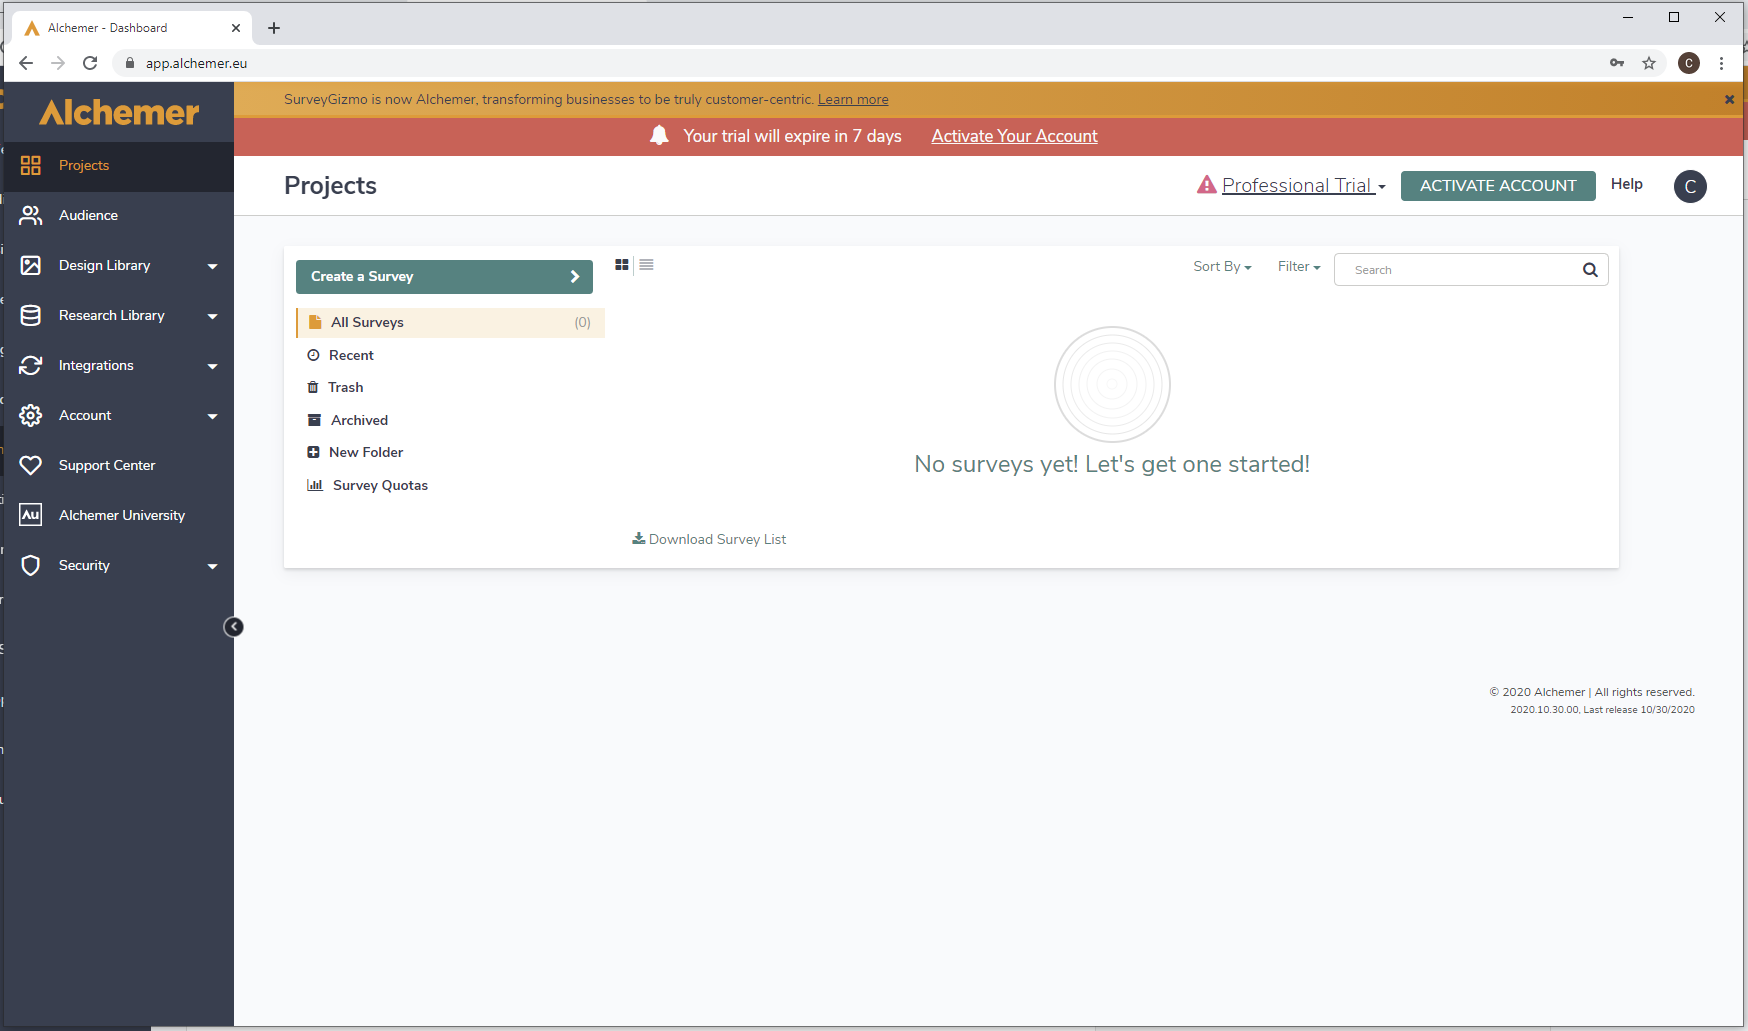
Once you have your Alchemer account ready, click on the Create a Survey button at the top of the page.
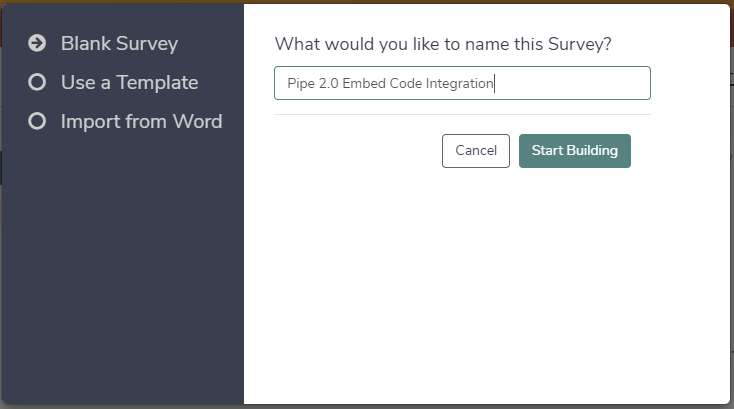
You will be asked to either use a template or create a blank survey. I chose the blank survey option. Choose a name for your survey and then click on the Start Building button.
Adding the Pipe 2.0 JS embed code to your form
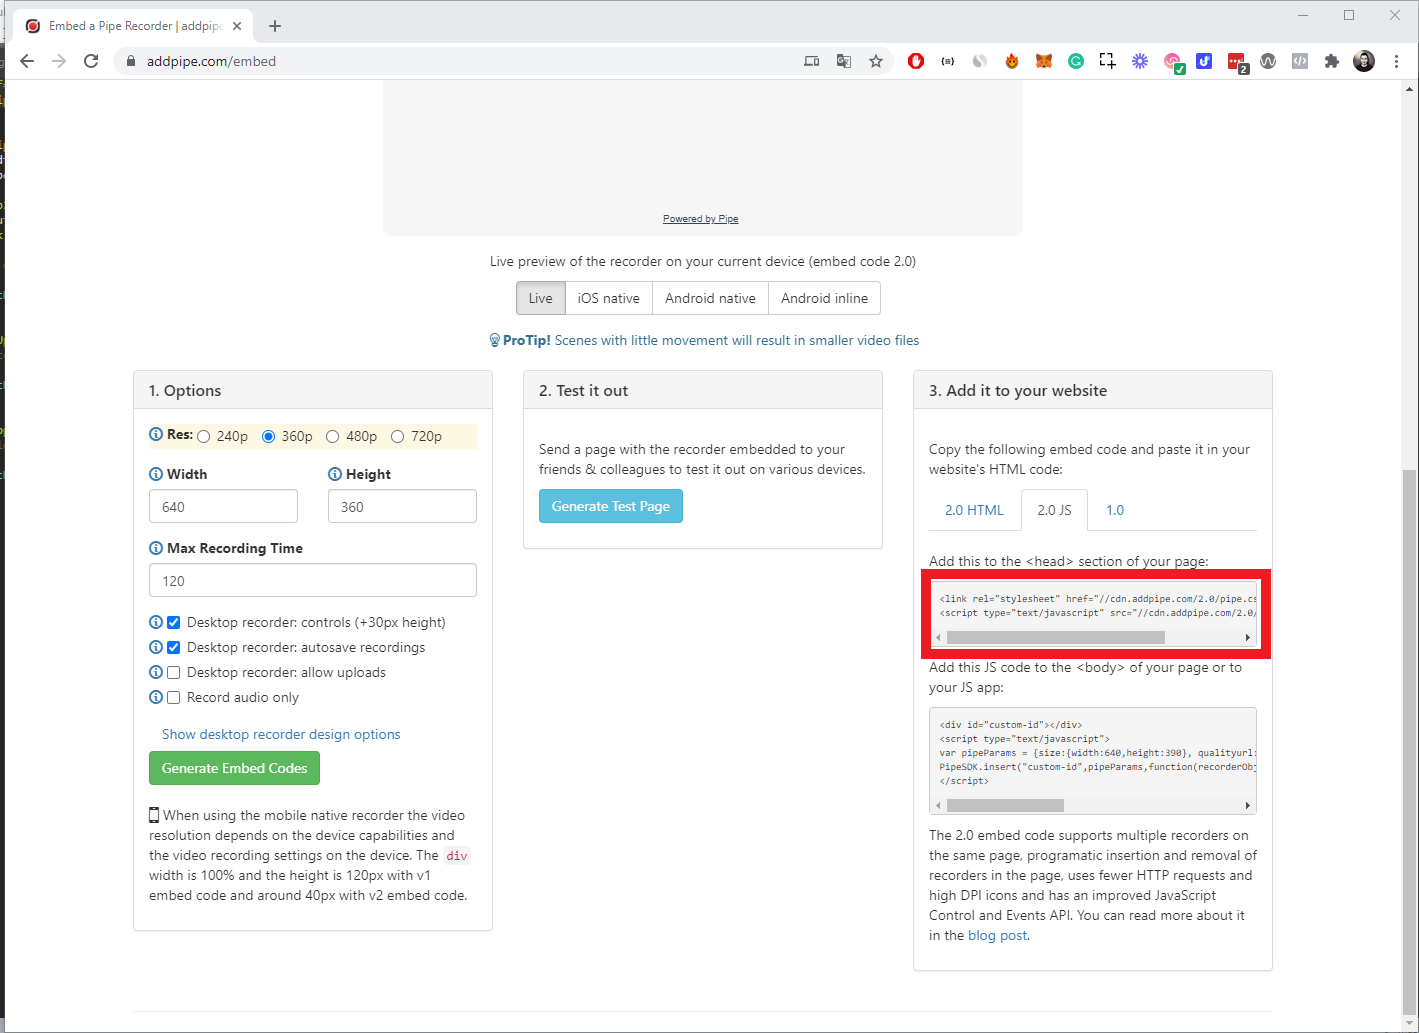
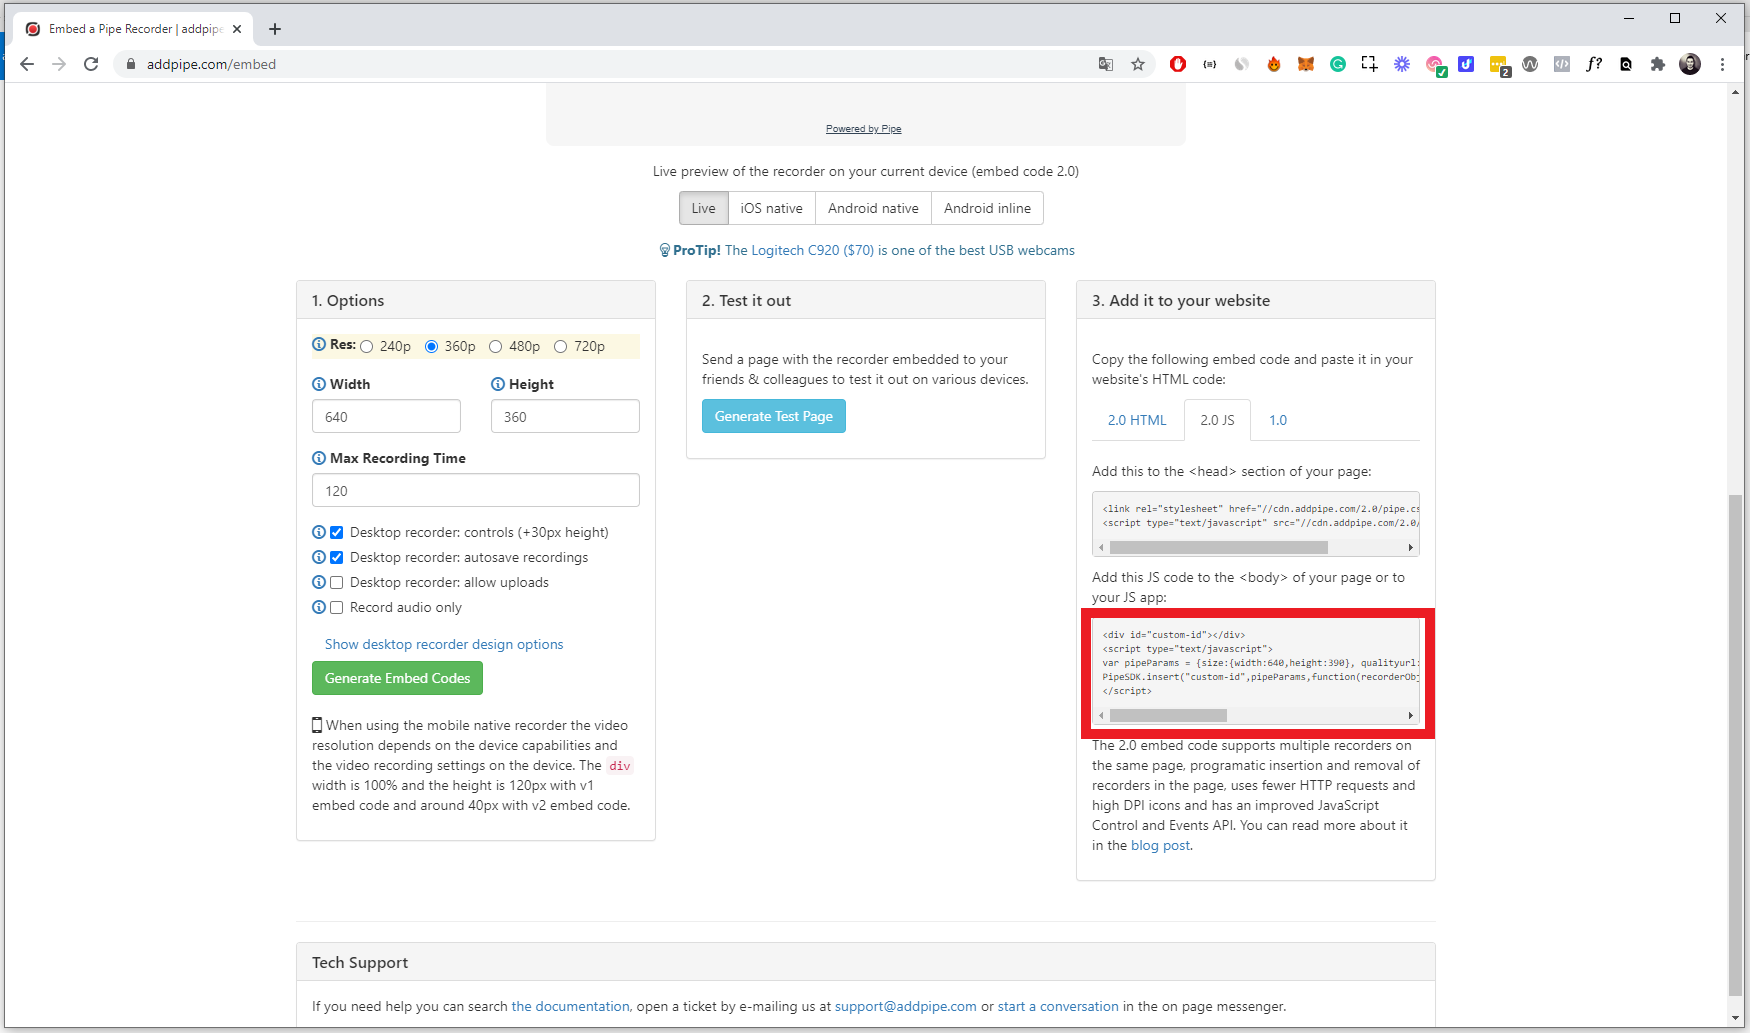
The first thing we need to do is to add the first part of the Pipe 2.0 JS embed code in the head of the survey’s page. You can find the embed code in your Pipe account area. Go to https://dashboard.addpipe.com/embed and scroll down to the bottom of the page. On the right side, there is a section containing the various embed codes. Click on the 2.0 JS tab and copy the first part of the 2.0 JS embed code.
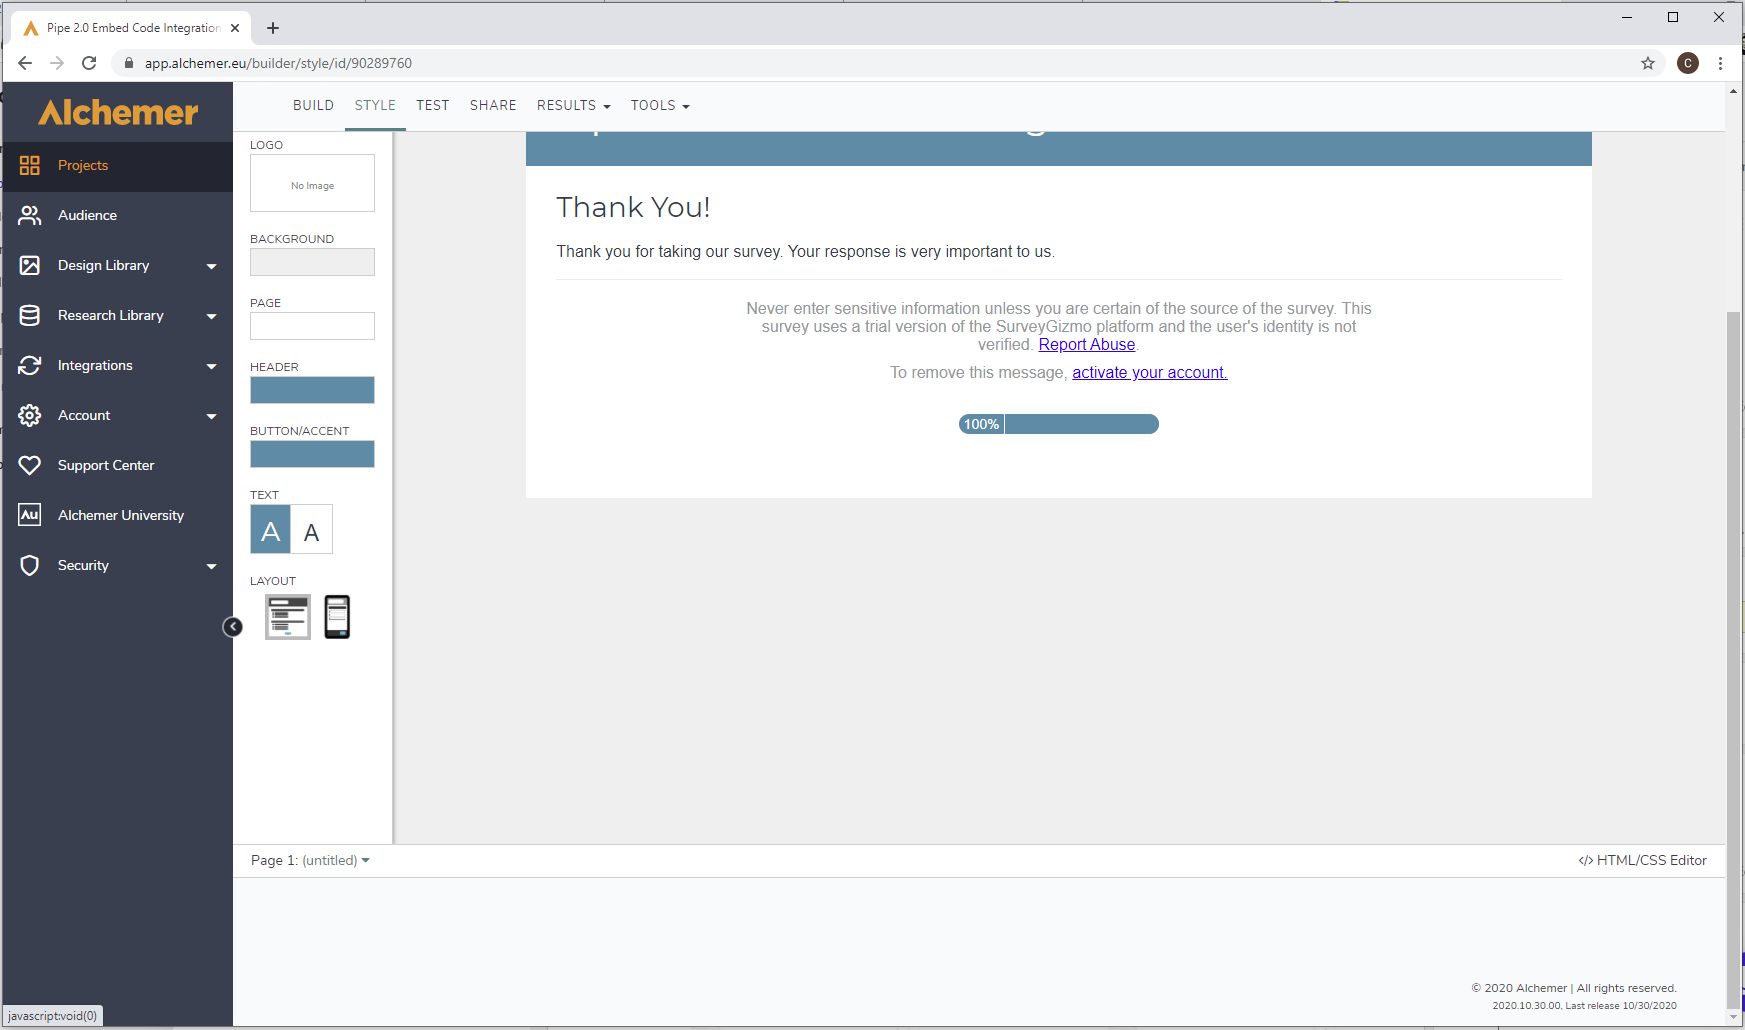
Back in the Alchemer editor, click on the STYLE tab at the top, scroll down the page and click on the </> HTML/CSS Editor button located at the lower right. This feature requires a Collaborator license or higher.
In the modal that will be opened, click on the CUSTOM <HEAD> tab and paste the first part of the Pipe 2.0 JS embed code you copied before. This is how your custom head should look.
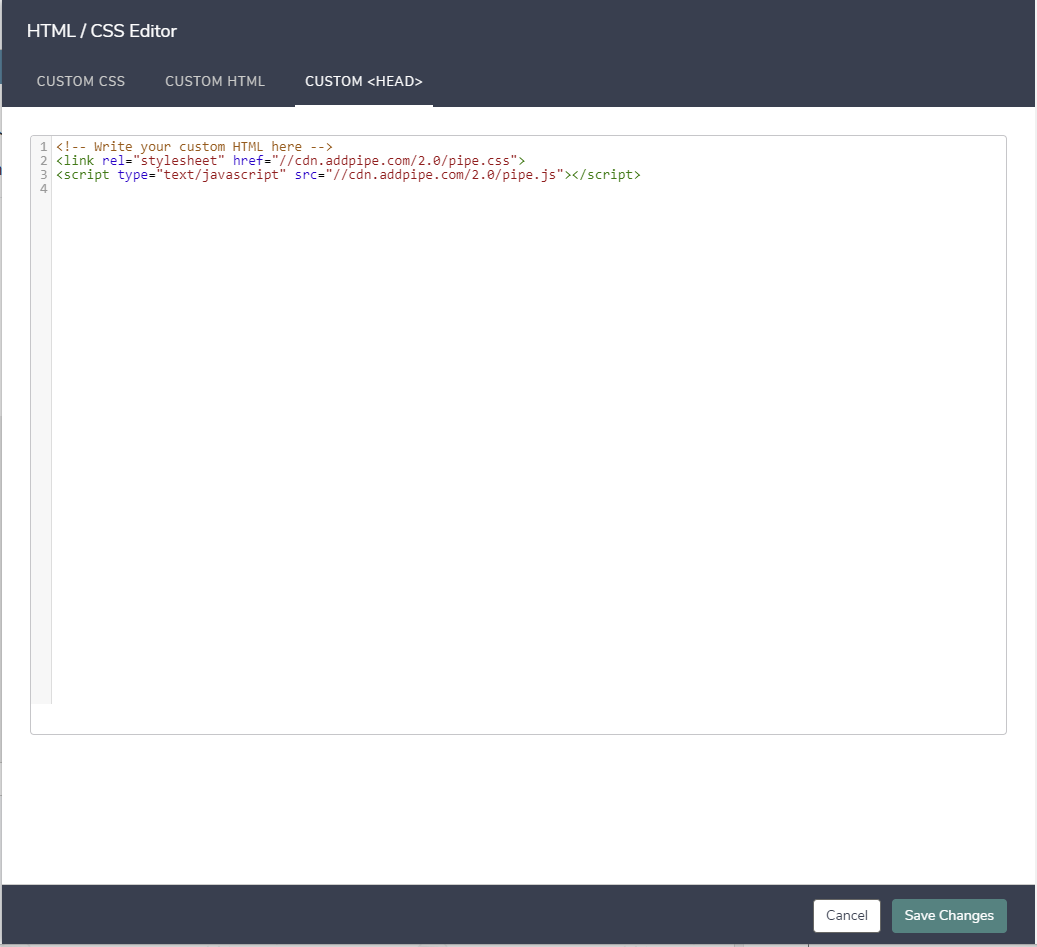
Once you are done, click on the Save Changes button.
Adding the Pipe recorders to your Alchemer survey
Back to the BUILD tab of the Alchemer editor, we can start to add the fields needed to display the Pipe Video Recorder.
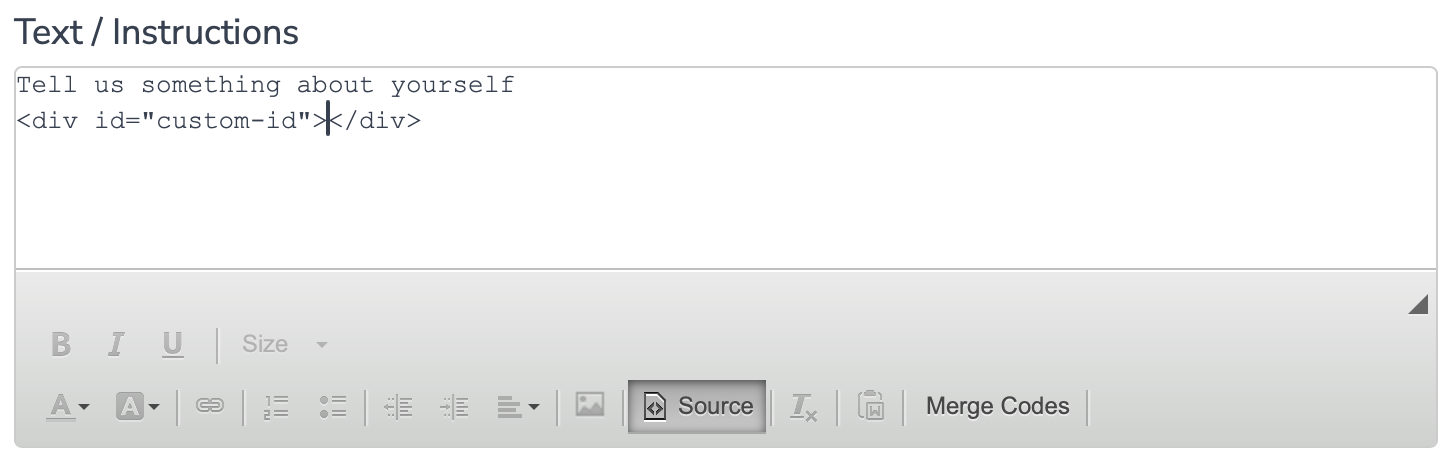
First, let’s add a Text/Media element to the form, so that we can provide instructions to the users. Here you can write anything that makes sense for your video question. I have written “Tell us something about yourself”.
Switch the editor to Full Mode by clicking the 3 horizontal dots, then switch to Source and , under the text add the following HTML snippet: <div id="custom-id"></div>. Later on, this div will contain the video recorder. Here's how it should look:
The second survey element we need is a hidden field, which will be used to store the URL of the recording and save it along with the rest of your survey’s answers.
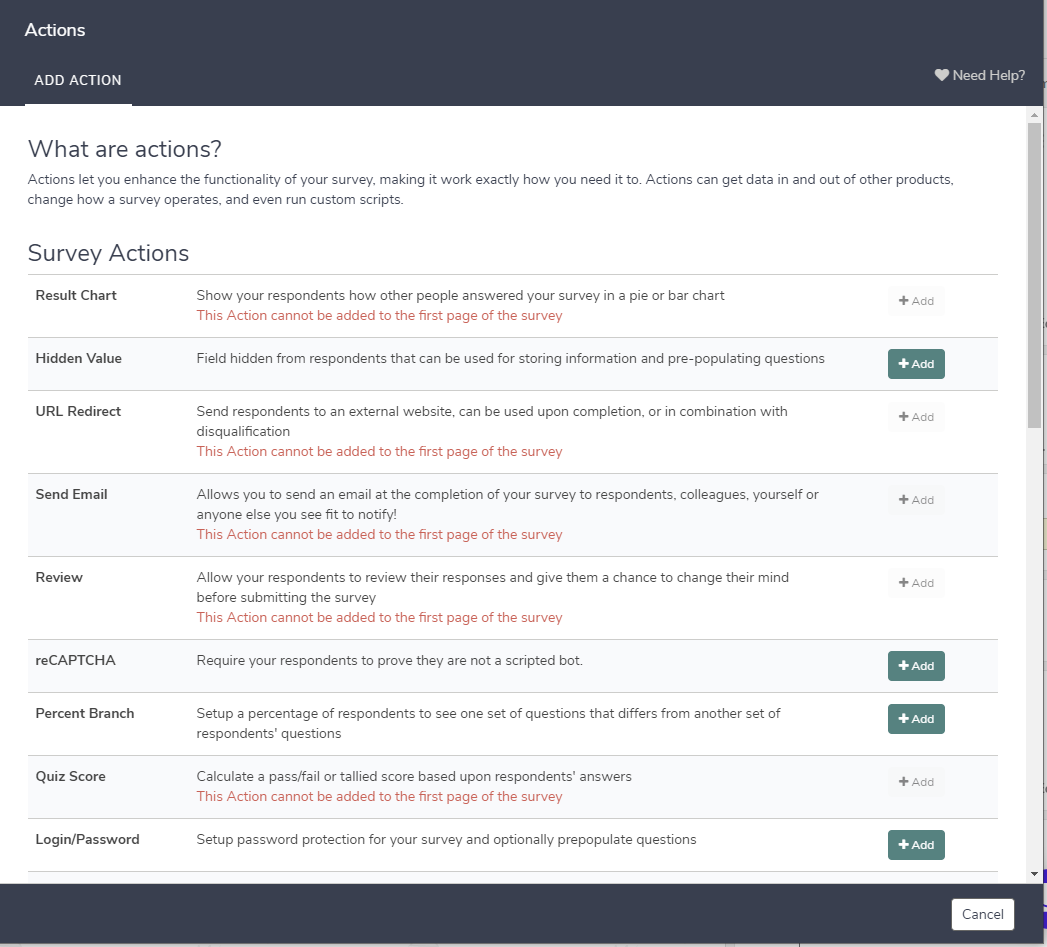
To add the hidden field you will need to click the Add New Action button. In the modal that will appear choose the Hidden Value element by clicking the +Add button. Adding a Hidden Value is included with the Alchemer Professional plan.
Give it a name that will make it easy to link each video question to each video URL. I have renamed mine First Video Recorder Answer. Give it a (placeholder ) value too. I've used placeholder URL. When you are done, click on the Save Action button at the bottom of the modal.
The third element is a JavaScript Action. In this element, we will place the second part of the 2.0 JS embed code.
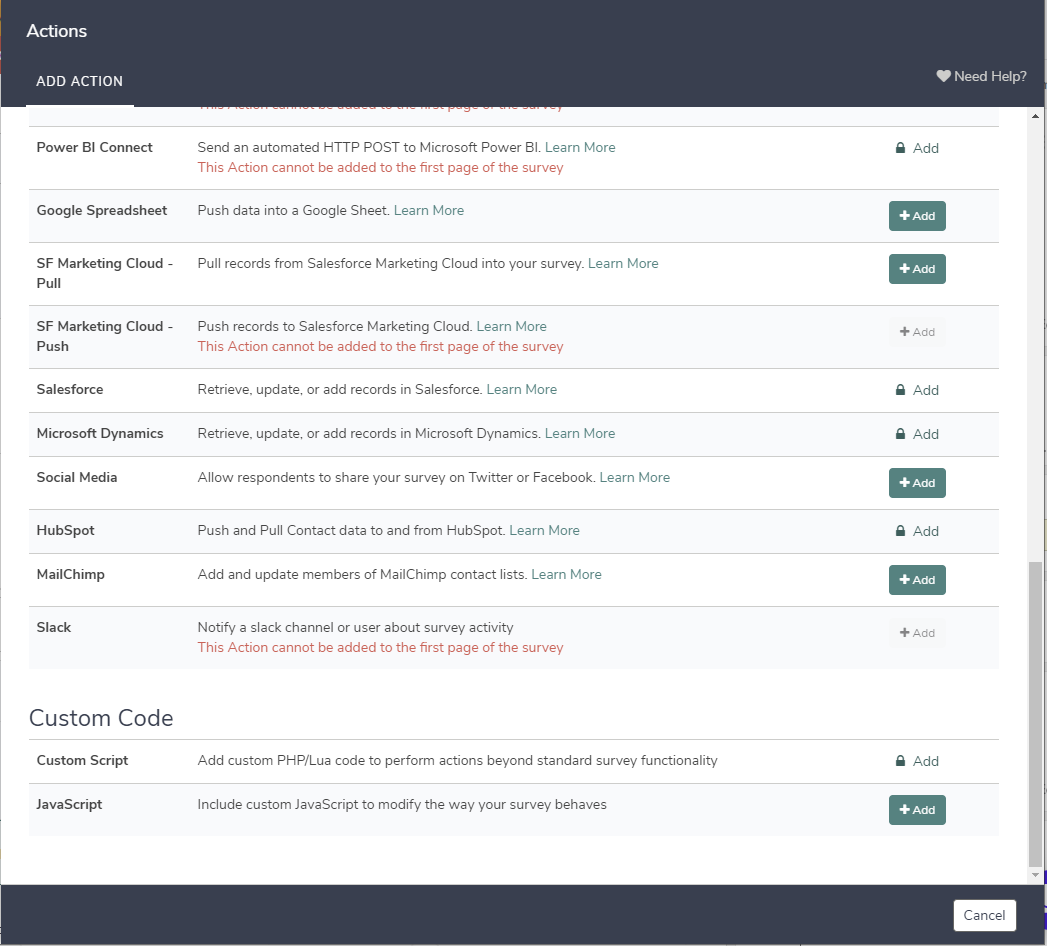
Click the Add New Action button again. In the modal that will be opened, scroll down and click the +Add button corresponding to the JavaScript element.
In the description field add something that will help you identify the Pipe Video Recorder. I have used First Video Recorder.
In the <script type="text/javascript"> field we will start by adding the second part of the 2.0 JS embed code. You will find it at the bottom of the embed page in your Pipe account area.
Now you will need to make some changes to the code you just pasted.
- remove the
<div id="custom-id"></div>part (we've added it separately above) - remove the opening and closing
<script>tags
This is how the original embed code looks like:
<div id="custom-id"></div>
<script type="text/javascript">
var pipeParams = {size:{width:640,height:390}, qualityurl:"avq/360p.xml", accountHash:"PIPE-ACCOUNT-HASH", eid:"RmSu", mrt:120};
PipeSDK.insert("custom-id",pipeParams,function(recorderObject){});
</script>
This is how it will be once you remove the above elements:
var pipeParams = {size:{width:640,height:390}, qualityurl:"avq/360p.xml", accountHash:"PIPE-ACCOUNT-HASH", eid:"RmSv", mrt:120};
PipeSDK.insert("custom-id",pipeParams,function(recorderObject){});
Recommendation: change the width value from 640 to '100%' . It will look better on mobile devices.
Don't forget to save your changes by clicking on the Save Action button.
Getting the recording URL
Click on the Preview button to get access to the survey’s preview.
Note: while in Preview, Fire Actions needs to be turned on for the recording client to show up.
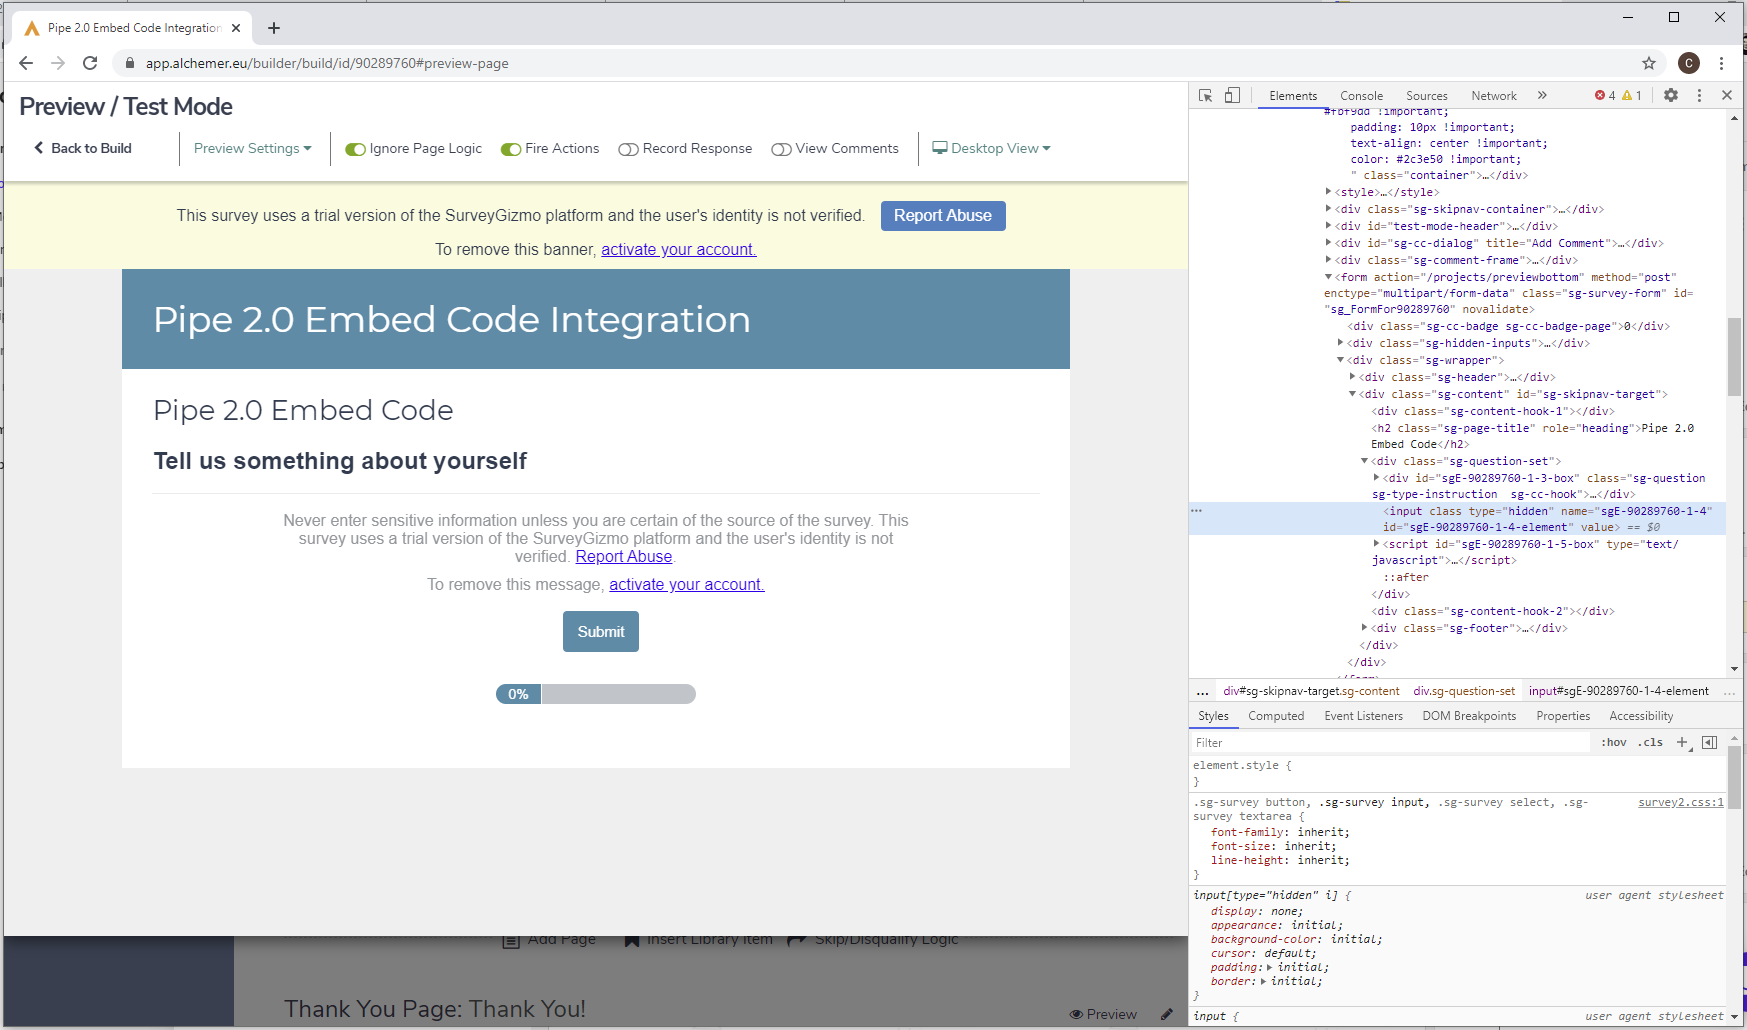
In the preview page, we will need to find the hidden element we added previously and copy its HTML ID. To do that, right-click on the text you added in the survey and select Inspect.
You will see the HTML of the page popping-up. Find the HTML input with the type “hidden” and copy its id. In my case the HTML code for the input is:
<input class="" type="hidden" name="sgE-90289760-1-4" id="sgE-90289760-1-4-element" value="placehodler URL">and its id is: sgE-90289760-1-4-element.
Go back to the JavaScript Action in your Alchemer editor and replace this line of code:
PipeSDK.insert("custom-id",pipeParams,function(recorderObject){});With the following code:
PipeSDK.insert("custom-id",pipeParams,function(recorderObject){

	let accountHash = "YOUR-ACCOUNT-HASH";
	let formFieldId = "YOUR-HIDDEN-FIELD-ID";

    recorderObject.onSaveOk = function(recorderId, streamName, streamDuration, cameraName, micName, audioCodec, videoCodec, fileType, videoId, audioOnly, location){

        //onSaveOK is part of the desktop recorder's JS events API (recording from camera or screen)

		document.getElementById(formFieldId).value = "https://" + location + "/" + accountHash + "/" + streamName + ".mp4";

    };
    recorderObject.onVideoUploadSuccess = function(recorderId, filename,filetype,videoId,audioOnly,location){
        //onVideoUploadSuccess is part of the native mobile recorder's JS events API (upload new or existing recording)

        document.getElementById(formFieldId).value = "https://" + location + "/" + accountHash + "/" + filename + ".mp4";

    };
    recorderObject.onDesktopVideoUploadSuccess = function(recorderId, filename, filetype, videoId, audioOnly, location){
        //onDesktopVideoUploadSuccess is part of the desktop recorder's JS events API (upload existing file from desktop)

        document.getElementById(formFieldId).value = "https://" + location + "/" + accountHash + "/" + filename + ".mp4";

    };
});
In the pasted code, replace the following placeholders:
- YOUR_ACCOUNT_HASH string with your real account hash, which you'll find in your Pipe account area under Account.
- YOUR-HIDDEN-FIELD-ID with the actual HTML ID of your Hidden field which we've identified above (
sgE-90289760-1-4-elementin my case).
The JS code above covers 3 situations:
- New recording made with the camera or microphone using the main recorder.
- Existing recording uploaded through the main recorder.
- New or existing recording uploaded through the mobile (native) recorder (legacy recorder).
We are done! This is how my code looks like after I made all the changes. Click on the Save Action button and let’s test if the Pipe Recorder is on the page!
var pipeParams = {size:{width:'100%',height:390}, qualityurl:"avq/360p.xml", accountHash:"PIPE-ACCOUNT-HASH", eid:"Rmv", mrt:120};

PipeSDK.insert("custom-id",pipeParams,function(recorderObject){

	let accountHash = "PIPE-ACCOUNT-HASH";
	let formFieldId = "sgE-90289760-1-4-element";

      recorderObject.onSaveOk = function(recorderId, streamName, streamDuration, cameraName, micName, audioCodec, videoCodec, fileType, videoId, audioOnly, location){

        //onSaveOK is part of the desktop recorder's JS events API (recording from camera or screen)
		document.getElementById(formFieldId).value = "https://" + location + "/" + accountHash + "/" + streamName + ".mp4";

        };
        recorderObject.onVideoUploadSuccess = function(recorderId, filename,filetype,videoId,audioOnly,location){
        //onVideoUploadSuccess is part of the native mobile recorder's JS events API (upload new or existing recording)
        document.getElementById(formFieldId).value = "https://" + location + "/" + accountHash + "/" + filename + ".mp4";

        };
        recorderObject.onDesktopVideoUploadSuccess = function(recorderId, filename, filetype, videoId, audioOnly, location){
            //onDesktopVideoUploadSuccess is part of the desktop recorder's JS events API (upload existing file from desktop)

            document.getElementById(formFieldId).value = "https://" + location + "/" + accountHash + "/" + filename + ".mp4";

    };
});
Click on the SHARE tab in your Alchemer Editor and click on the View button of the Primary Link section to open the survey page.
If everything worked as expected, you should see the Pipe Video Recorder on the survey’s page.
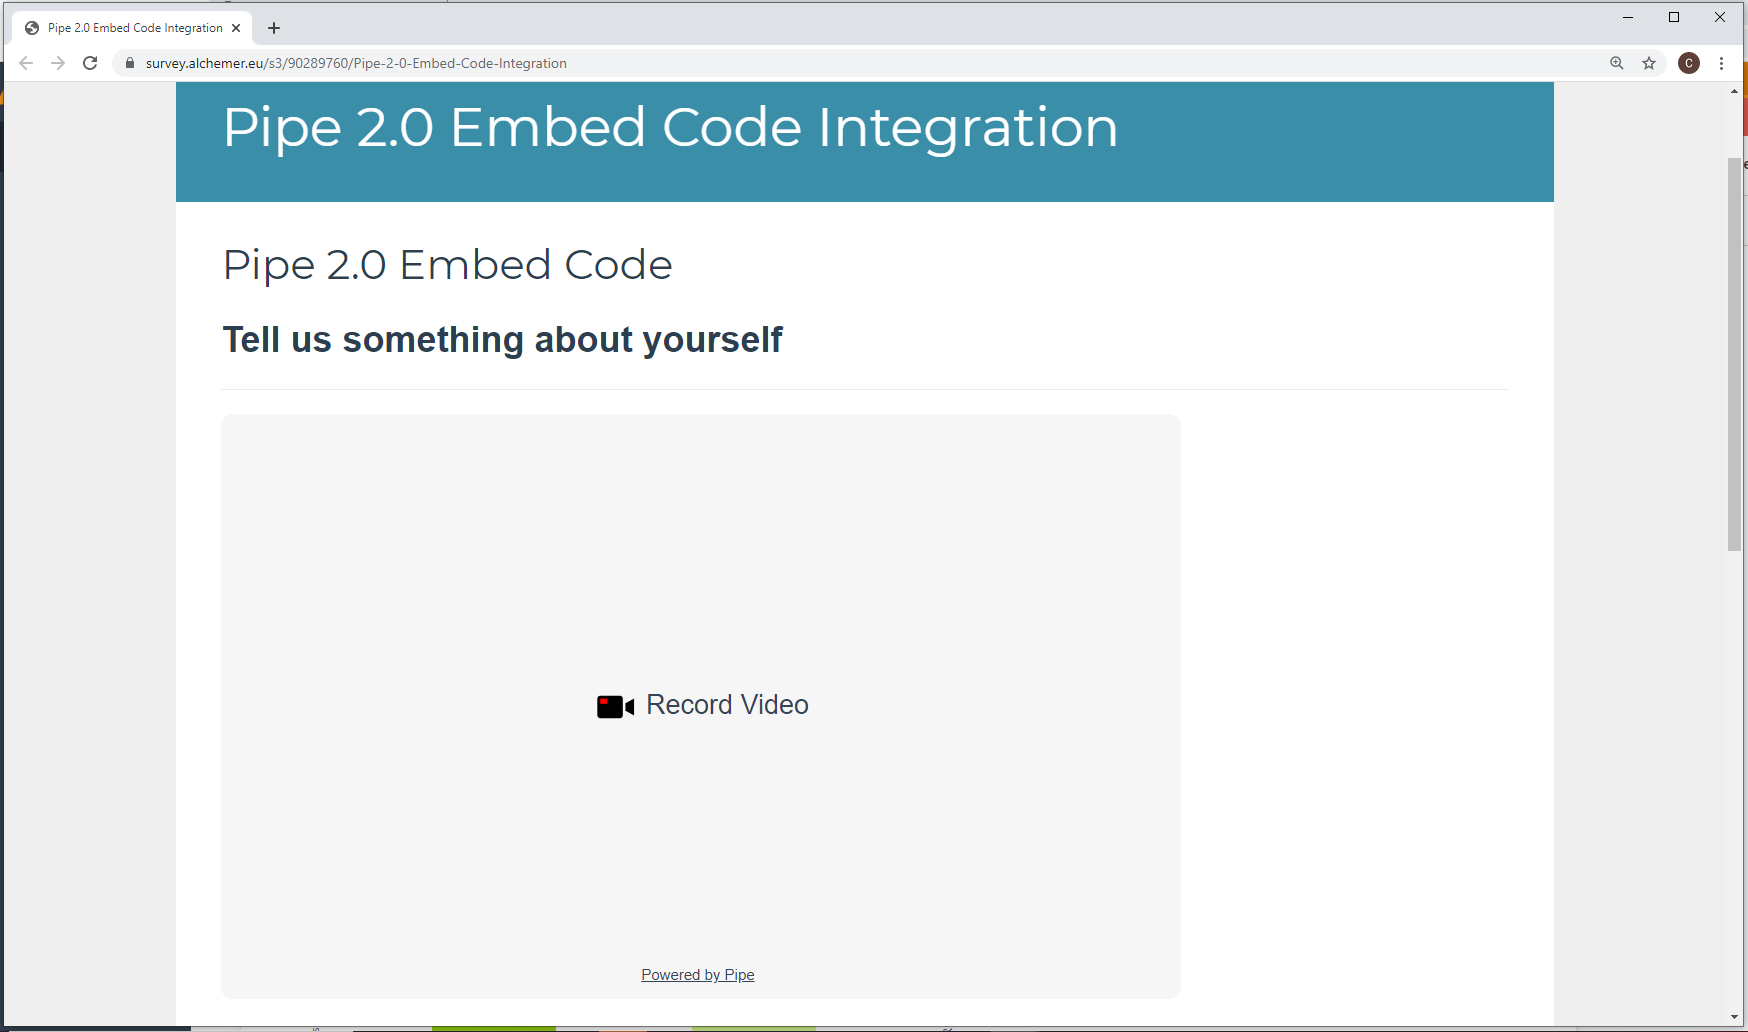
Well done! You have successfully integrated the Pipe Recorder in your Alchemer survey!
Adding more than one video recorder to your Alchemer Survey
To add more than one Pipe recorder to your survey you will need to repeat the steps above:
- Add a 2nd Text/Media element to hold a) the question to which you need a video answer and b) the
<div>element (with a new id) which will hold the actual video recording widget - Add a 2nd Hidden Value Action (from the Actions options)
- Find the Hidden Value Action HTML ID in the survey’s preview page
- Add a 2nd Javascript Action (from the Actions options)
- Add the 2.0 JS Embed code in the JavaScript Action editor and edit as necessary.
Make sure to rename correctly the Hidden Value field and the JavaScript Action so that you can identify them correctly in the survey editor and in your responses.
If everything went as expected you should have a page that looks like this:
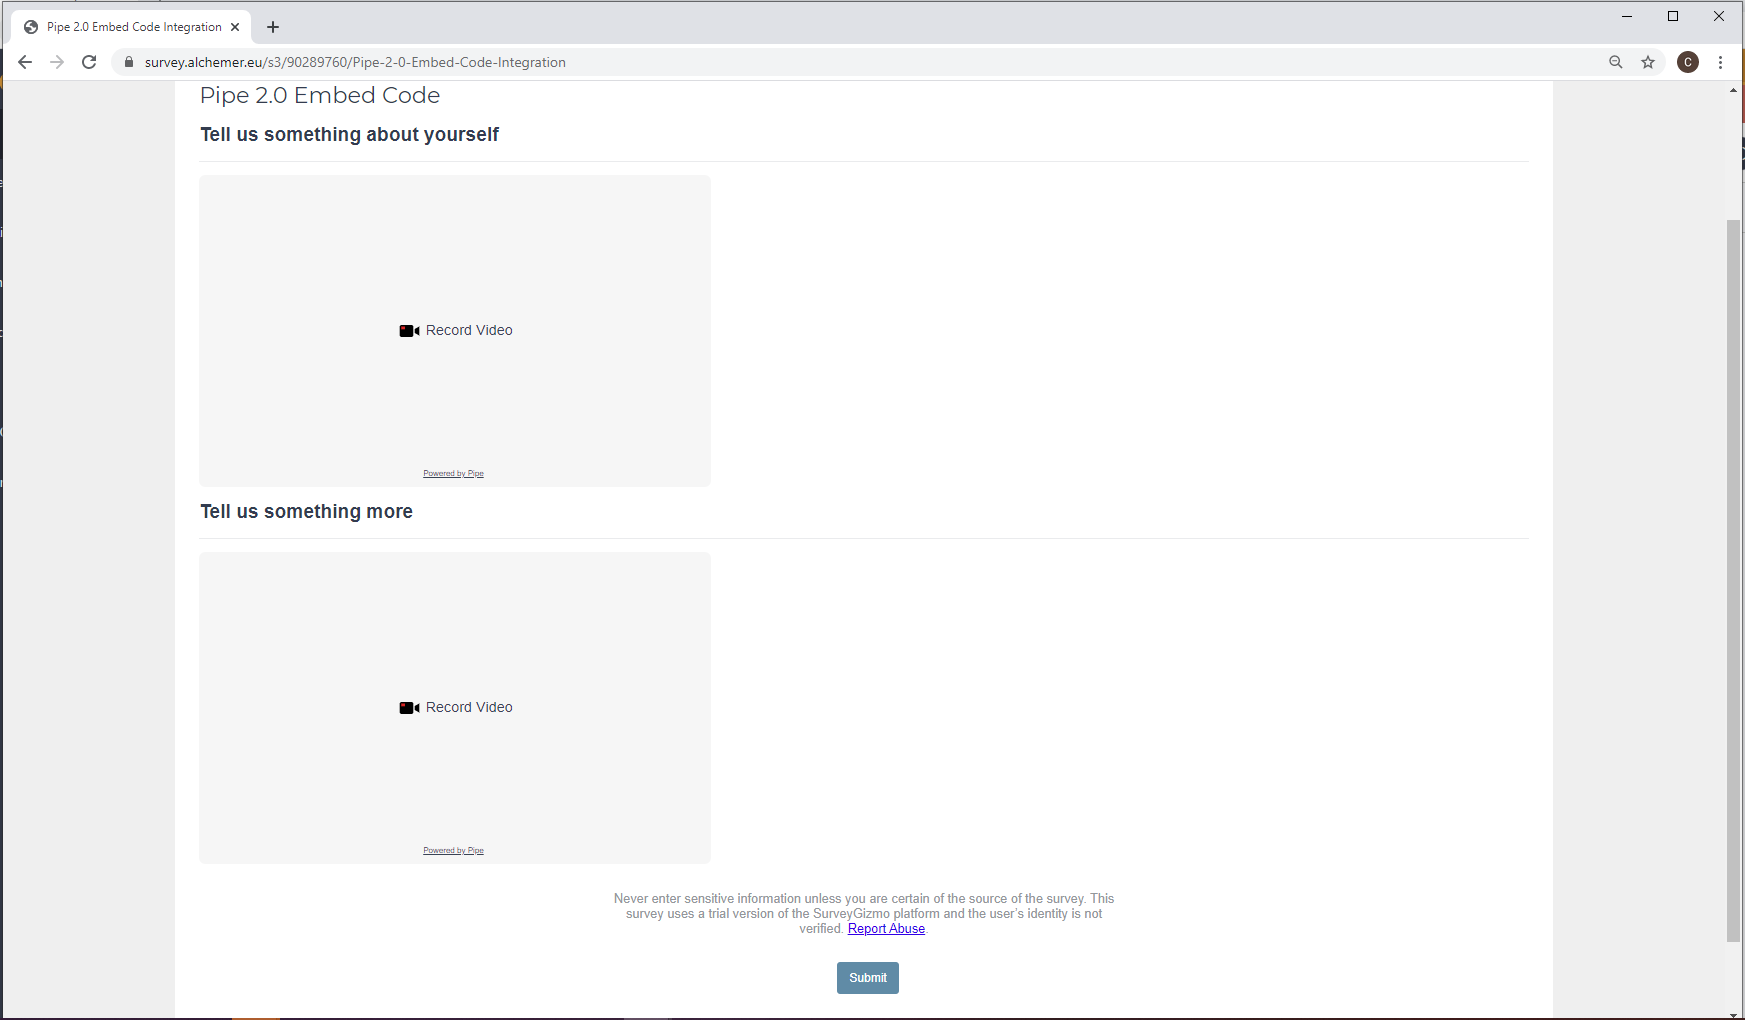
Great Job! Now you can add as many recorders as you like to your survey.
Testing your survey
From the SHARE tab you can copy the survey URL and send it to a colleague to test or test it in a new browser or incognito window. In the survey, record a video answer and submit
Submit your answers and then check your survey’s entries (which you can find in the Results tab under the Individual Responses option
If everything worked as expected, you should see something like this:
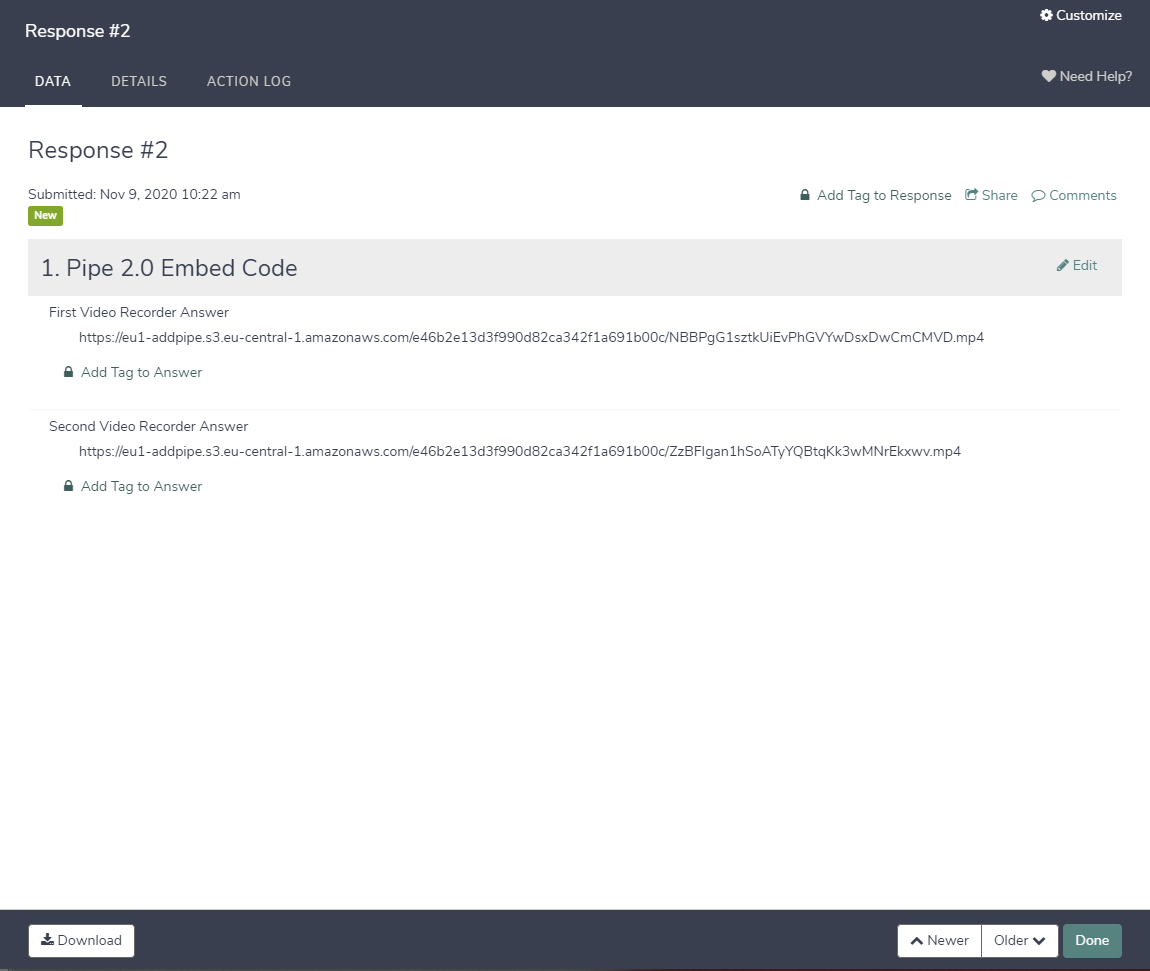
We are done!
Please let us know what you think about the new Pipe Video Recorder and if you have any questions, don’t hesitate to contact us. We’ll be happy to help you!